ekey® TOCAhome ekey® TOCAhome 3 ekey ... - Gueller.ch
ekey® TOCAhome ekey® TOCAhome 3 ekey ... - Gueller.ch
ekey® TOCAhome ekey® TOCAhome 3 ekey ... - Gueller.ch

You also want an ePaper? Increase the reach of your titles
YUMPU automatically turns print PDFs into web optimized ePapers that Google loves.
Operation<br />
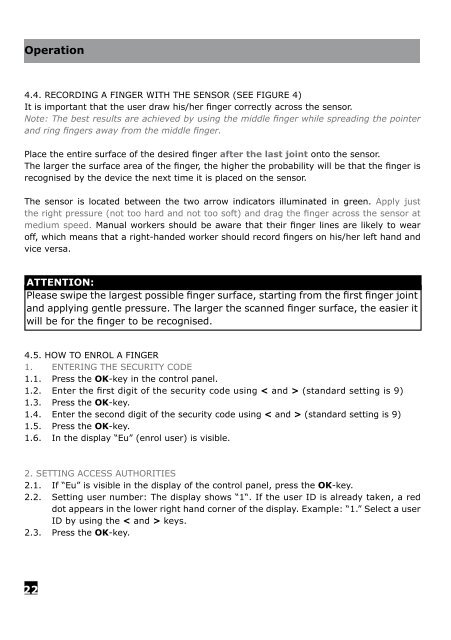
4.4. RECORDING A FINGER WITH THE SENSOR (SEE FIGURE 4)<br />
It is important that the user draw his/her finger correctly across the sensor.<br />
Note: The best results are a<strong>ch</strong>ieved by using the middle finger while spreading the pointer<br />
and ring fingers away from the middle finger.<br />
Place the entire surface of the desired finger after the last joint onto the sensor.<br />
The larger the surface area of the finger, the higher the probability will be that the finger is<br />
recognised by the device the next time it is placed on the sensor.<br />
The sensor is located between the two arrow indicators illuminated in green. Apply just<br />
the right pressure (not too hard and not too soft) and drag the finger across the sensor at<br />
medium speed. Manual workers should be aware that their finger lines are likely to wear<br />
off, whi<strong>ch</strong> means that a right-handed worker should record fingers on his/her left hand and<br />
vice versa.<br />
ATTENTION:<br />
Please swipe the largest possible finger surface, starting from the first finger joint<br />
and applying gentle pressure. The larger the scanned finger surface, the easier it<br />
will be for the finger to be recognised.<br />
4.5. HOW TO ENROL A FINGER<br />
1. ENTERING THE SECURITY CODE<br />
1.1. Press the OK-key in the control panel.<br />
1.2. Enter the first digit of the security code using < and > (standard setting is 9)<br />
1.3. Press the OK-key.<br />
1.4. Enter the second digit of the security code using < and > (standard setting is 9)<br />
1.5. Press the OK-key.<br />
1.6. In the display “Eu” (enrol user) is visible.<br />
2. SETTING ACCESS AUTHORITIES<br />
2.1. If “Eu” is visible in the display of the control panel, press the OK-key.<br />
2.2. Setting user number: The display shows “1“. If the user ID is already taken, a red<br />
dot appears in the lower right hand corner of the display. Example: “1.” Select a user<br />
ID by using the < and > keys.<br />
2.3. Press the OK-key.<br />
22