1810 Folder Operating Guide SV40115 4/95 - Pitney Bowes Canada
1810 Folder Operating Guide SV40115 4/95 - Pitney Bowes Canada
1810 Folder Operating Guide SV40115 4/95 - Pitney Bowes Canada
Create successful ePaper yourself
Turn your PDF publications into a flip-book with our unique Google optimized e-Paper software.
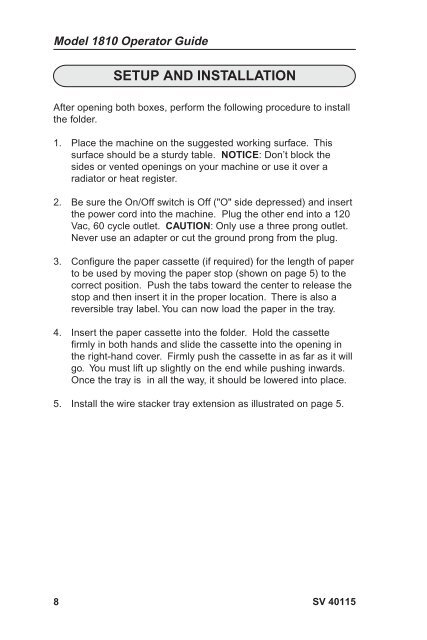
Model <strong>1810</strong> Operator <strong>Guide</strong><br />
8<br />
SETUP AND INSTALLATION<br />
After opening both boxes, perform the following procedure to install<br />
the folder.<br />
1. Place the machine on the suggested working surface. This<br />
surface should be a sturdy table. NOTICE: Don’t block the<br />
sides or vented openings on your machine or use it over a<br />
radiator or heat register.<br />
2. Be sure the On/Off switch is Off ("O" side depressed) and insert<br />
the power cord into the machine. Plug the other end into a 120<br />
Vac, 60 cycle outlet. CAUTION: Only use a three prong outlet.<br />
Never use an adapter or cut the ground prong from the plug.<br />
3. Configure the paper cassette (if required) for the length of paper<br />
to be used by moving the paper stop (shown on page 5) to the<br />
correct position. Push the tabs toward the center to release the<br />
stop and then insert it in the proper location. There is also a<br />
reversible tray label. You can now load the paper in the tray.<br />
4. Insert the paper cassette into the folder. Hold the cassette<br />
firmly in both hands and slide the cassette into the opening in<br />
the right-hand cover. Firmly push the cassette in as far as it will<br />
go. You must lift up slightly on the end while pushing inwards.<br />
Once the tray is in all the way, it should be lowered into place.<br />
5. Install the wire stacker tray extension as illustrated on page 5.<br />
SV 40115


