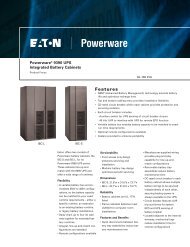
200503166 93-2406 Sinewave SmartPro ... - Mindconnection
200503166 93-2406 Sinewave SmartPro ... - Mindconnection
200503166 93-2406 Sinewave SmartPro ... - Mindconnection

You also want an ePaper? Increase the reach of your titles
YUMPU automatically turns print PDFs into web optimized ePapers that Google loves.
<strong>200503166</strong> <strong>93</strong>-<strong>2406</strong> <strong>Sinewave</strong> <strong>SmartPro</strong> Rackmount UPS OM.qxd 3/29/2005 3:12 PM Page 4<br />
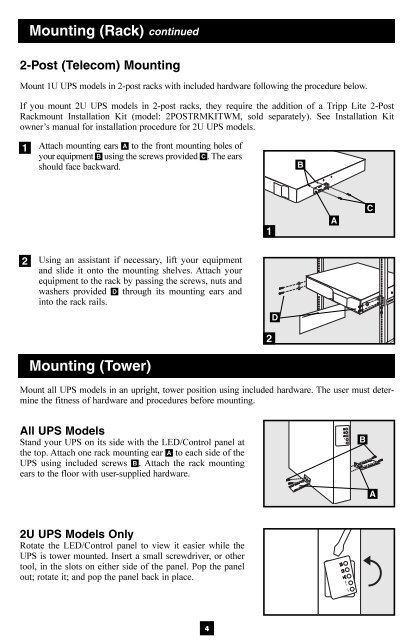
Mounting (Rack) continued<br />
2-Post (Telecom) Mounting<br />
Mount 1U UPS models in 2-post racks with included hardware following the procedure below.<br />
If you mount 2U UPS models in 2-post racks, they require the addition of a Tripp Lite 2-Post<br />
Rackmount Installation Kit (model: 2POSTRMKITWM, sold separately). See Installation Kit<br />
owner’s manual for installation procedure for 2U UPS models.<br />
1<br />
Attach mounting ears A to the front mounting holes of<br />
your equipment B using the screws provided C . The ears<br />
should face backward.<br />
B<br />
1<br />
A<br />
C<br />
2<br />
Using an assistant if necessary, lift your equipment<br />
and slide it onto the mounting shelves. Attach your<br />
equipment to the rack by passing the screws, nuts and<br />
washers provided D through its mounting ears and<br />
into the rack rails.<br />
Mounting (Tower)<br />
2<br />
D<br />
Mount all UPS models in an upright, tower position using included hardware. The user must determine<br />
the fitness of hardware and procedures before mounting.<br />
All UPS Models<br />
Stand your UPS on its side with the LED/Control panel at<br />
the top. Attach one rack mounting ear A to each side of the<br />
UPS using included screws B . Attach the rack mounting<br />
ears to the floor with user-supplied hardware.<br />
B<br />
A<br />
2U UPS Models Only<br />
Rotate the LED/Control panel to view it easier while the<br />
UPS is tower mounted. Insert a small screwdriver, or other<br />
tool, in the slots on either side of the panel. Pop the panel<br />
out; rotate it; and pop the panel back in place.<br />
4