BC-BCP - FIBERPOOL
BC-BCP - FIBERPOOL
BC-BCP - FIBERPOOL

You also want an ePaper? Increase the reach of your titles
YUMPU automatically turns print PDFs into web optimized ePapers that Google loves.
<strong>FIBERPOOL</strong> INTERNACIONAL<br />
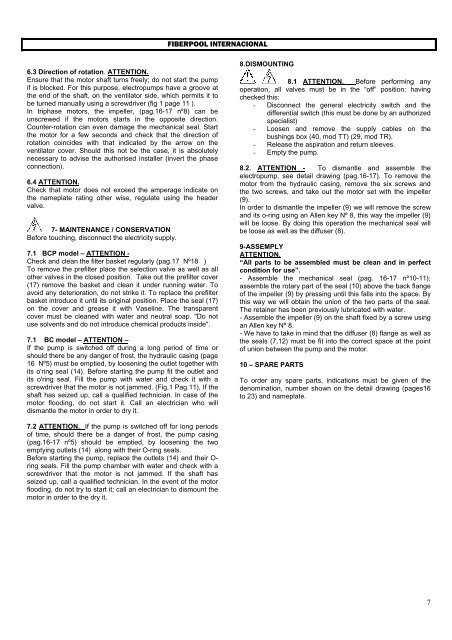
6.3 Direction of rotation. ATTENTION.<br />
Ensure that the motor shaft turns freely; do not start the pump<br />
if is blocked. For this purpose, electropumps have a groove at<br />
the end of the shaft, on the ventilator side, which permits it to<br />
be turned manually using a screwdriver (fig 1 page 11 ).<br />
In triphase motors, the impeller, (pag.16-17 nº8) can be<br />
unscrewed if the motors starts in the opposite direction.<br />
Counter-rotation can even damage the mechanical seal. Start<br />
the motor for a few seconds and check that the direction of<br />
rotation coincides with that indicated by the arrow on the<br />
ventilator cover. Should this not be the case, it is absolutely<br />
necessary to advise the authorised installer (invert the phase<br />
connection).<br />
6.4 ATTENTION.<br />
Check that motor does not exceed the amperage indicate on<br />
the nameplate rating other wise, regulate using the header<br />
valve.<br />
7- MAINTENANCE / CONSERVATION<br />
Before touching, disconnect the electricity supply.<br />
7.1 <strong>BC</strong>P model – ATTENTION -<br />
Check and clean the filter basket regularly (pag.17 Nº18 )<br />
To remove the prefilter place the selection valve as well as all<br />
other valves in the closed position. Take out the prefilter cover<br />
(17) remove the basket and clean it under running water. To<br />
avoid any deterioration, do not strike it. To replace the prefilter<br />
basket introduce it until its original position. Place the seal (17)<br />
on the cover and grease it with Vaseline. The transparent<br />
cover must be cleaned with water and neutral soap. "Do not<br />
use solvents and do not introduce chemical products inside".<br />
7.1 <strong>BC</strong> model – ATTENTION –<br />
If the pump is switched off during a long period of time or<br />
should there be any danger of frost, the hydraulic casing (page<br />
16 Nº5) must be emptied, by loosening the outlet together with<br />
its o'ring seal (14). Before starting the pump fit the outlet and<br />
its o'ring seal. Fill the pump with water and check it with a<br />
screwdriver that the motor is not jammed. (Fig.1 Pag.11), If the<br />
shaft has seized up, call a qualified technician. In case of the<br />
motor flooding, do not start it. Call an electrician who will<br />
dismantle the motor in order to dry it.<br />
8.DISMOUNTING<br />
8.1 ATTENTION. Before performing any<br />
operation, all valves must be in the “off” position: having<br />
checked this:<br />
- Disconnect the general electricity switch and the<br />
differential switch (this must be done by an authorized<br />
specialist)<br />
- Loosen and remove the supply cables on the<br />
bushings box (40, mod TT) (29, mod TR).<br />
- Release the aspiration and return sleeves.<br />
- Empty the pump.<br />
8.2. ATTENTION - To dismantle and assemble the<br />
electropump, see detail drawing (pag.16-17). To remove the<br />
motor from the hydraulic casing, remove the six screws and<br />
the two screws, and take out the motor set with the impeller<br />
(9).<br />
In order to dismantle the impeller (9) we will remove the screw<br />
and its o-ring using an Allen key Nº 8, this way the impeller (9)<br />
will be loose. By doing this operation the mechanical seal will<br />
be loose as well as the diffuser (8).<br />
9-ASSEMPLY<br />
ATTENTION.<br />
“All parts to be assembled must be clean and in perfect<br />
condition for use”.<br />
- Assemble the mechanical seal (pag. 16-17 nº10-11);<br />
assemble the rotary part of the seal (10) above the back flange<br />
of the impeller (9) by pressing until this falls into the space. By<br />
this way we will obtain the union of the two parts of the seal.<br />
The retainer has been previously lubricated with water.<br />
- Assemble the impeller (9) on the shaft fixed by a screw using<br />
an Allen key Nº 8.<br />
- We have to take in mind that the diffuser (8) flange as well as<br />
the seals (7,12) must be fit into the correct space at the point<br />
of union between the pump and the motor.<br />
10 – SPARE PARTS<br />
To order any spare parts, indications must be given of the<br />
denomination, number shown on the detail drawing (pages16<br />
to 23) and nameplate.<br />
7.2 ATTENTION. If the pump is switched off for long periods<br />
of time, should there be a danger of frost, the pump casing<br />
(pag.16-17 nº5) should be emptied, by loosening the two<br />
emptying outlets (14) along with their O-ring seals.<br />
Before starting the pump, replace the outlets (14) and their O-<br />
ring seals. Fill the pump chamber with water and check with a<br />
screwdriver that the motor is not jammed. If the shaft has<br />
seized up, call a qualified technician. In the event of the motor<br />
flooding, do not try to start it; call an electrician to dismount the<br />
motor in order to the dry it.<br />
7