BlackandDecker Coupe-Bordure- St5530 - Type 1 - Instruction Manual (Européen)
BlackandDecker Coupe-Bordure- St5530 - Type 1 - Instruction Manual (Européen)
BlackandDecker Coupe-Bordure- St5530 - Type 1 - Instruction Manual (Européen)
Create successful ePaper yourself
Turn your PDF publications into a flip-book with our unique Google optimized e-Paper software.
ENGLISH<br />
(Original instructions)<br />
N<br />
E<br />
K<br />
R<br />
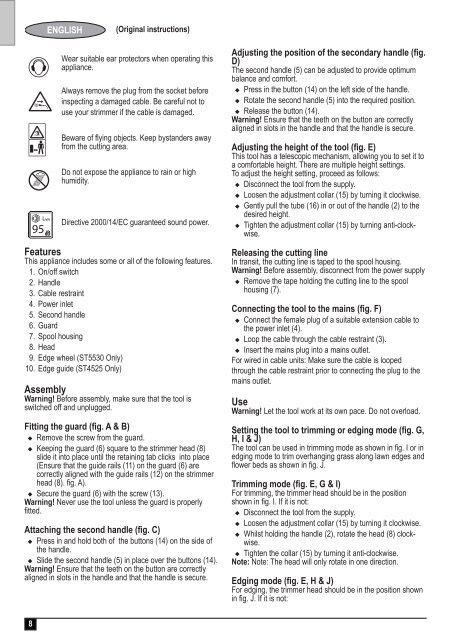
Wear suitable ear protectors wh<strong>en</strong> operating this<br />
appliance.<br />
Always remove the plug from the socket before<br />
inspecting a damaged cable. Be careful not to<br />
use your strimmer if the cable is damaged.<br />
Beware of flying objects. Keep bystanders away<br />
from the cutting area.<br />
Do not expose the appliance to rain or high<br />
humidity.<br />
Directive 2000/14/EC guaranteed sound power.<br />
Features<br />
This appliance includes some or all of the following features.<br />
1. On/off switch<br />
2. Handle<br />
3. Cable restraint<br />
4. Power inlet<br />
5. Second handle<br />
6. Guard<br />
7. Spool housing<br />
8. Head<br />
9. Edge wheel (ST5530 Only)<br />
10. Edge guide (ST4525 Only)<br />
Assembly<br />
Warning! Before assembly, make sure that the tool is<br />
switched off and unplugged.<br />
Fitting the guard (fig. A & B)<br />
u Remove the screw from the guard.<br />
u Keeping the guard (6) square to the strimmer head (8)<br />
slide it into place until the retaining tab clicks into place<br />
(Ensure that the guide rails (11) on the guard (6) are<br />
correctly aligned with the guide rails (12) on the strimmer<br />
head (8). fig. A).<br />
u Secure the guard (6) with the screw (13).<br />
Warning! Never use the tool unless the guard is properly<br />
fitted.<br />
Attaching the second handle (fig. C)<br />
u Press in and hold both of the buttons (14) on the side of<br />
the handle.<br />
u Slide the second handle (5) in place over the buttons (14).<br />
Warning! Ensure that the teeth on the button are correctly<br />
aligned in slots in the handle and that the handle is secure.<br />
Adjusting the position of the secondary handle (fig.<br />
D)<br />
The second handle (5) can be adjusted to provide optimum<br />
balance and comfort.<br />
u Press in the button (14) on the left side of the handle.<br />
u Rotate the second handle (5) into the required position.<br />
u Release the button (14).<br />
Warning! Ensure that the teeth on the button are correctly<br />
aligned in slots in the handle and that the handle is secure.<br />
Adjusting the height of the tool (fig. E)<br />
This tool has a telescopic mechanism, allowing you to set it to<br />
a comfortable height. There are multiple height settings.<br />
To adjust the height setting, proceed as follows:<br />
u Disconnect the tool from the supply.<br />
u Loos<strong>en</strong> the adjustm<strong>en</strong>t collar (15) by turning it clockwise.<br />
u G<strong>en</strong>tly pull the tube (16) in or out of the handle (2) to the<br />
desired height.<br />
u Tight<strong>en</strong> the adjustm<strong>en</strong>t collar (15) by turning anti-clockwise.<br />
Releasing the cutting line<br />
In transit, the cutting line is taped to the spool housing.<br />
Warning! Before assembly, disconnect from the power supply<br />
u Remove the tape holding the cutting line to the spool<br />
housing (7).<br />
Connecting the tool to the mains (fig. F)<br />
u Connect the female plug of a suitable ext<strong>en</strong>sion cable to<br />
the power inlet (4).<br />
u Loop the cable through the cable restraint (3).<br />
u Insert the mains plug into a mains outlet.<br />
For wired in cable units: Make sure the cable is looped<br />
through the cable restraint prior to connecting the plug to the<br />
mains outlet.<br />
Use<br />
Warning! Let the tool work at its own pace. Do not overload.<br />
Setting the tool to trimming or edging mode (fig. G,<br />
H, I & J)<br />
The tool can be used in trimming mode as shown in fig. I or in<br />
edging mode to trim overhanging grass along lawn edges and<br />
flower beds as shown in fig. J.<br />
Trimming mode (fig. E, G & I)<br />
For trimming, the trimmer head should be in the position<br />
shown in fig. I. If it is not:<br />
u Disconnect the tool from the supply.<br />
u Loos<strong>en</strong> the adjustm<strong>en</strong>t collar (15) by turning it clockwise.<br />
u Whilst holding the handle (2), rotate the head (8) clockwise.<br />
u Tight<strong>en</strong> the collar (15) by turning it anti-clockwise.<br />
Note: Note: The head will only rotate in one direction.<br />
Edging mode (fig. E, H & J)<br />
For edging, the trimmer head should be in the position shown<br />
in fig. J. If it is not:<br />
8


