Silver Efex Pro - User Guide - Nik Software
Silver Efex Pro - User Guide - Nik Software
Silver Efex Pro - User Guide - Nik Software

Create successful ePaper yourself
Turn your PDF publications into a flip-book with our unique Google optimized e-Paper software.
Chapter 5 : <strong>Silver</strong> <strong>Efex</strong> <strong>Pro</strong> Interface<br />
To lock in place the area displayed in the Loupe, click the pushpin<br />
icon in the lower-left corner of the Loupe, then click on the area of<br />
the image you want to keep inside the Loupe. To unlock the area,<br />
click the pushpin icon again. Alternately, right-click (Windows) or<br />
Control-click (Macintosh) to toggle the lock in place function.<br />
To pan within the Loupe display, click and drag the image.<br />
Navigator Mode<br />
When you switch from the zoom to fit state to 100% or 300%, the<br />
Navigator Loupe switches to the Navigator mode and a red rectangle<br />
indicates the area of the image currently displayed in the Image<br />
Preview. Click on the area of the image in the Navigator that you<br />
would like to display in the Image Preview.<br />
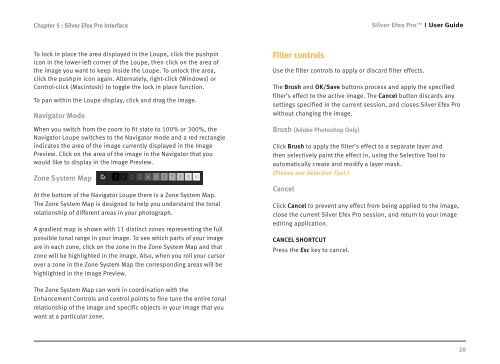
Zone System Map<br />
At the bottom of the Navigator Loupe there is a Zone System Map.<br />
The Zone System Map is designed to help you understand the tonal<br />
relationship of different areas in your photograph.<br />
A gradient map is shown with 11 distinct zones representing the full<br />
possible tonal range in your image. To see which parts of your image<br />
are in each zone, click on the zone in the Zone System Map and that<br />
zone will be highlighted in the image. Also, when you roll your cursor<br />
over a zone in the Zone System Map the corresponding areas will be<br />
highlighted in the Image Preview.<br />
The Zone System Map can work in coordination with the<br />
Enhancement Controls and control points to fine tune the entire tonal<br />
relationship of the image and specific objects in your image that you<br />
want at a particular zone.<br />
Filter controls<br />
<strong>Silver</strong> <strong>Efex</strong> <strong>Pro</strong> <strong>User</strong> <strong>Guide</strong><br />
Use the filter controls to apply or discard filter effects.<br />
The Brush and OK/Save buttons process and apply the specified<br />
filter’s effect to the active image. The Cancel button discards any<br />
settings specified in the current session, and closes <strong>Silver</strong> <strong>Efex</strong> <strong>Pro</strong><br />
without changing the image.<br />
Brush (Adobe Photoshop Only)<br />
Click Brush to apply the filter’s effect to a separate layer and<br />
then selectively paint the effect in, using the Selective Tool to<br />
automatically create and modify a layer mask.<br />
(Please see Selective Tool.)<br />
Cancel<br />
Click Cancel to prevent any effect from being applied to the image,<br />
close the current <strong>Silver</strong> <strong>Efex</strong> <strong>Pro</strong> session, and return to your image<br />
editing application.<br />
CANCEL SHORTCUT<br />
Press the Esc key to cancel.<br />
20