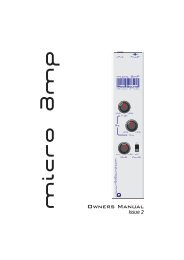
SoundBITE micro MANUAL issue1... - Red Sound Systems
SoundBITE micro MANUAL issue1... - Red Sound Systems
SoundBITE micro MANUAL issue1... - Red Sound Systems

You also want an ePaper? Increase the reach of your titles
YUMPU automatically turns print PDFs into web optimized ePapers that Google loves.
Controls & Connections<br />
4. ERASE ALL (STOP/RESET): in [LOOP] mode, use this button to<br />
instantly erase all the recorded loops. In [MIDI] mode, use this<br />
button to stop/reset the MIDI clock output.<br />
5. LOOPS: use these four buttons to record, playback and mute the<br />
four loop samples.<br />
6. RE-SAMPLE: in [LOOP] mode, use this button to re-sample<br />
(over-record) any pre-recorded loops. In [MIDI] mode, use this<br />
button to run/pause the MIDI clock output.<br />
7. INDICATOR: this tri-colour led indicates various operational<br />
conditions such as BPM engine lock, battery condition etc.<br />
Front Panel<br />
1 2 3 4<br />
1. MIDI IN: use this socket to merge your other MIDI output signals<br />
with the <strong><strong>Sound</strong>BITE</strong> <strong>micro</strong>’s own MIDI clock (only use the special<br />
<strong>Red</strong> <strong>Sound</strong> MIDI adaptor cable supplied!).<br />
2. MIDI OUT: use this socket to send the MIDI clock/merged signal<br />
to your MIDI sequencer (only use the special <strong>Red</strong> <strong>Sound</strong> MIDI<br />
adaptor cable supplied!).<br />
3. HEADPHONES: use this socket to connect your headphones.<br />
4. MODE: use this switch to select [MIDI] or [LOOP] control modes.<br />
3