Manual Handleiding Manuel Anleitung Manual Manual - Zanshin
Manual Handleiding Manuel Anleitung Manual Manual - Zanshin
Manual Handleiding Manuel Anleitung Manual Manual - Zanshin
You also want an ePaper? Increase the reach of your titles
YUMPU automatically turns print PDFs into web optimized ePapers that Google loves.
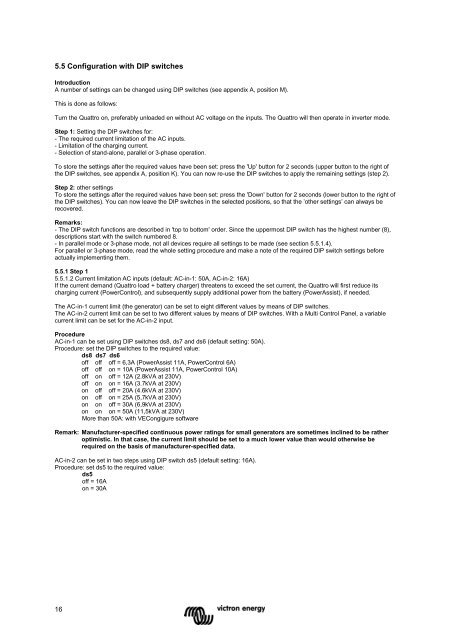
5.5 Configuration with DIP switches<br />
Introduction<br />
A number of settings can be changed using DIP switches (see appendix A, position M).<br />
This is done as follows:<br />
Turn the Quattro on, preferably unloaded en without AC voltage on the inputs. The Quattro will then operate in inverter mode.<br />
Step 1: Setting the DIP switches for:<br />
- The required current limitation of the AC inputs.<br />
- Limitation of the charging current.<br />
- Selection of stand-alone, parallel or 3-phase operation.<br />
To store the settings after the required values have been set: press the 'Up' button for 2 seconds (upper button to the right of<br />
the DIP switches, see appendix A, position K). You can now re-use the DIP switches to apply the remaining settings (step 2).<br />
Step 2: other settings<br />
To store the settings after the required values have been set: press the 'Down' button for 2 seconds (lower button to the right of<br />
the DIP switches). You can now leave the DIP switches in the selected positions, so that the ‟other settings‟ can always be<br />
recovered.<br />
Remarks:<br />
- The DIP switch functions are described in 'top to bottom' order. Since the uppermost DIP switch has the highest number (8),<br />
descriptions start with the switch numbered 8.<br />
- In parallel mode or 3-phase mode, not all devices require all settings to be made (see section 5.5.1.4).<br />
For parallel or 3-phase mode, read the whole setting procedure and make a note of the required DIP switch settings before<br />
actually implementing them.<br />
5.5.1 Step 1<br />
5.5.1.2 Current limitation AC inputs (default: AC-in-1: 50A, AC-in-2: 16A)<br />
If the current demand (Quattro load + battery charger) threatens to exceed the set current, the Quattro will first reduce its<br />
charging current (PowerControl), and subsequently supply additional power from the battery (PowerAssist), if needed.<br />
The AC-in-1 current limit (the generator) can be set to eight different values by means of DIP switches.<br />
The AC-in-2 current limit can be set to two different values by means of DIP switches. With a Multi Control Panel, a variable<br />
current limit can be set for the AC-in-2 input.<br />
Procedure<br />
AC-in-1 can be set using DIP switches ds8, ds7 and ds6 (default setting: 50A).<br />
Procedure: set the DIP switches to the required value:<br />
ds8 ds7 ds6<br />
off off off = 6,3A (PowerAssist 11A, PowerControl 6A)<br />
off off on = 10A (PowerAssist 11A, PowerControl 10A)<br />
off on off = 12A (2.8kVA at 230V)<br />
off on on = 16A (3.7kVA at 230V)<br />
on off off = 20A (4.6kVA at 230V)<br />
on off on = 25A (5,7kVA at 230V)<br />
on on off = 30A (6,9kVA at 230V)<br />
on on on = 50A (11,5kVA at 230V)<br />
More than 50A: with VECongigure software<br />
Remark: Manufacturer-specified continuous power ratings for small generators are sometimes inclined to be rather<br />
optimistic. In that case, the current limit should be set to a much lower value than would otherwise be<br />
required on the basis of manufacturer-specified data.<br />
AC-in-2 can be set in two steps using DIP switch ds5 (default setting: 16A).<br />
Procedure: set ds5 to the required value:<br />
ds5<br />
off = 16A<br />
on = 30A<br />
16


