

Chairside - Glidewell Dental Labs
Chairside - Glidewell Dental Labs
Chairside - Glidewell Dental Labs

Create successful ePaper yourself
Turn your PDF publications into a flip-book with our unique Google optimized e-Paper software.
Photo Documentation<br />
<strong>Dental</strong> photography has two parts: intraoral and extraoral<br />
photography. Here are some basic tools you will need:<br />
1. A camera that allows you to take both full-face and profile<br />
pictures, as well as intraoral close-up shots.<br />
2. Two sets of intraoral photographic mirrors and two sets<br />
of retractors. There should be one occlusal mirror and<br />
one lateral mirror in each set.<br />
I have adopted a simple series of standard dental photographs<br />
to document my cases. I take one set of preoperative<br />
pictures, and I take another postoperative set to document<br />
the final results. Simple before-and-after pictures of your<br />
work can help patients visualize and accept the work they<br />
need done (Figs. 1, 2). If I think I might make a presentation<br />
of the case, I take additional photos of the procedural steps.<br />
1<br />
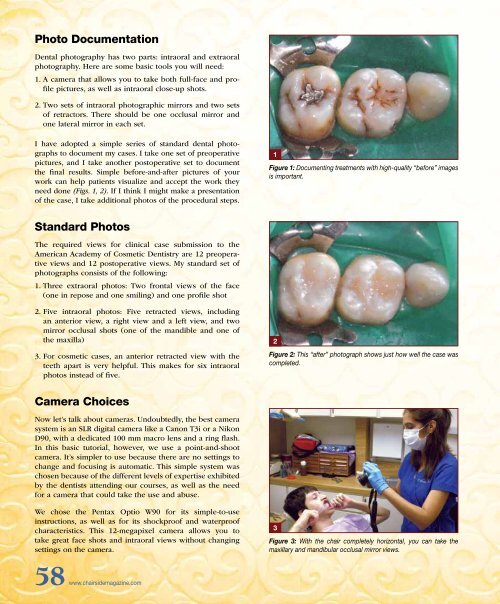
Figure 1: Documenting treatments with high-quality “before” images<br />
is important.<br />
Standard Photos<br />
The required views for clinical case submission to the<br />
American Academy of Cosmetic Dentistry are 12 preoperative<br />
views and 12 postoperative views. My standard set of<br />
photographs consists of the following:<br />
1. Three extraoral photos: Two frontal views of the face<br />
(one in repose and one smiling) and one profile shot<br />
2. Five intraoral photos: Five retracted views, including<br />
an anterior view, a right view and a left view, and two<br />
mirror occlusal shots (one of the mandible and one of<br />
the maxilla)<br />
3. For cosmetic cases, an anterior retracted view with the<br />
teeth apart is very helpful. This makes for six intraoral<br />
photos instead of five.<br />
2<br />
Figure 2: This “after” photograph shows just how well the case was<br />
completed.<br />
Camera Choices<br />
Now let’s talk about cameras. Undoubtedly, the best camera<br />
system is an SLR digital camera like a Canon T3i or a Nikon<br />
D90, with a dedicated 100 mm macro lens and a ring flash.<br />
In this basic tutorial, however, we use a point-and-shoot<br />
camera. It’s simpler to use because there are no settings to<br />
change and focusing is automatic. This simple system was<br />
chosen because of the different levels of expertise exhibited<br />
by the dentists attending our courses, as well as the need<br />
for a camera that could take the use and abuse.<br />
We chose the Pentax Optio W90 for its simple-to-use<br />
instructions, as well as for its shockproof and waterproof<br />
characteristics. This 12-megapixel camera allows you to<br />
take great face shots and intraoral views without changing<br />
settings on the camera.<br />
3<br />
Figure 3: With the chair completely horizontal, you can take the<br />
maxillary and mandibular occlusal mirror views.<br />
58 www.chairsidemagazine.com


