Wadkin JET Tenoner Manual and Parts List
Wadkin JET Tenoner Manual and Parts List
Wadkin JET Tenoner Manual and Parts List

You also want an ePaper? Increase the reach of your titles
YUMPU automatically turns print PDFs into web optimized ePapers that Google loves.
18<br />
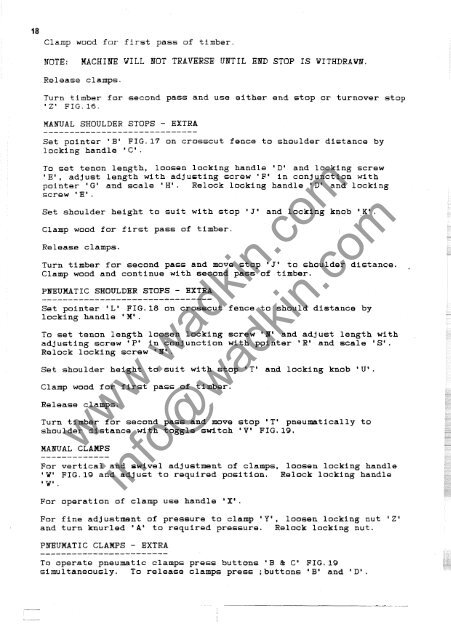
Clamp wood for first pass of timber.<br />
NOTB:<br />
MACHINB VILL NOT TRAVERSE UNTIL END STOP IS WITHDRAWN.<br />
Release clamps.<br />
Turn timber for second pass <strong>and</strong> use either end stop or turnover stop<br />
'Z' FIG.16.<br />
MANUAL SHOULDER STOPS -<br />
EXTRA<br />
Set pointer 'B' FIG.17 on crosscut fence to shoulder distance by<br />
locking h<strong>and</strong>l~ 'C'.<br />
To set tenon length. loosen locking h<strong>and</strong>le 'D' <strong>and</strong> locking screw<br />
'E', adjust length with adjusting screw 'F' in conjunction with<br />
painter 'G' <strong>and</strong> scale 'H'. Relock locking h<strong>and</strong>le 'D' <strong>and</strong> locking<br />
screw' E' .<br />
Set shoulder height to sui t with stop 'J' <strong>and</strong> locking knob 'K'.<br />
Clamp wood for first pass of ti.mber.<br />
Release clamps.<br />
Turn timber for second pass <strong>and</strong> move stop 'J' to shoulder distance.<br />
Clamp wood <strong>and</strong> continue with second pass of timber.<br />
PNEUMATIC SHOULDER STOPS -<br />
EXTRA<br />
Set pointer 'L' FIG.l8 on crosscut fence to should distance by<br />
locking h<strong>and</strong>le 'M'.<br />
To set tenon length loosen locking screw 'N' <strong>and</strong> adjust length with<br />
adjusting screw 'P' in conjunction with ppinter 'R' <strong>and</strong> scale'S'.<br />
Relock locking screw 'N'.<br />
Set shoulder height to suit with stop 'T' <strong>and</strong> locking knob 'U'.<br />
Clamp wood for first pass of timber.<br />
Release clamps.<br />
Turn timber for second pass <strong>and</strong> move stop 'T' pneumatically to<br />
shoulder distance with toggle switch 'V' FIG.l9.<br />
MANUAL CLAMPS<br />
www.wadkin.com<br />
For vertical <strong>and</strong> swivel adjustment of clamps. loosen locking h<strong>and</strong>le<br />
'W' FIG.19 <strong>and</strong> adjust to required position. Relock locking h<strong>and</strong>le<br />
'W' .<br />
info@wadkin.com<br />
For operation of clamp use h<strong>and</strong>le 'X'.<br />
For fine adjustment of pressure to clamp 'Y', loosen locking nut '2'<br />
<strong>and</strong> turn knurled 'A' to required pressure. Relock locking nut.<br />
PNEUMATIC CLAMPS -<br />
EXTRA<br />
To operate pneumatic clamps press buttons OB & C' FIG.IQ<br />
Simultaneously. To release clamps press ;buttons 'B' <strong>and</strong> 'D'.