Service & Repair Manual - Frogkick.dk
Service & Repair Manual - Frogkick.dk
Service & Repair Manual - Frogkick.dk
You also want an ePaper? Increase the reach of your titles
YUMPU automatically turns print PDFs into web optimized ePapers that Google loves.
SeaAir Regulator<br />
SECTION<br />
2<br />
Preliminary Inspection<br />
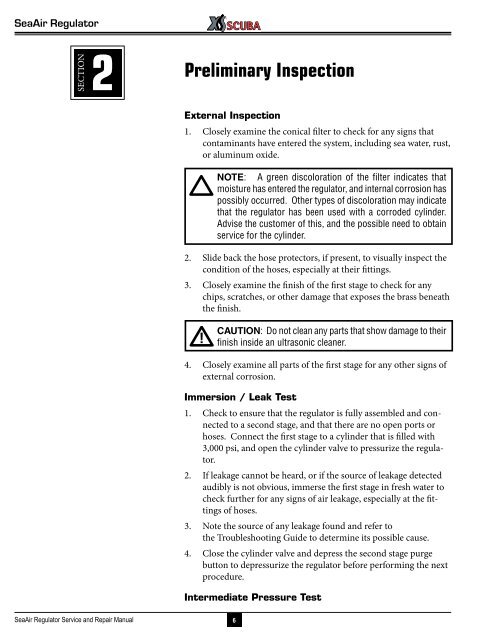
External Inspection<br />
1. Closely examine the conical filter to check for any signs that<br />
contaminants have entered the system, including sea water, rust,<br />
or aluminum oxide.<br />
NOTE: A green discoloration of the filter indicates that<br />
moisture has entered the regulator, and internal corrosion has<br />
possibly occurred. Other types of discoloration may indicate<br />
that the regulator has been used with a corroded cylinder.<br />
Advise the customer of this, and the possible need to obtain<br />
service for the cylinder.<br />
2. Slide back the hose protectors, if present, to visually inspect the<br />
condition of the hoses, especially at their fittings.<br />
3. Closely examine the finish of the first stage to check for any<br />
chips, scratches, or other damage that exposes the brass beneath<br />
the finish.<br />
CAUTION: Do not clean any parts that show damage to their<br />
finish inside an ultrasonic cleaner.<br />
4. Closely examine all parts of the first stage for any other signs of<br />
external corrosion.<br />
Immersion / Leak Test<br />
1. Check to ensure that the regulator is fully assembled and connected<br />
to a second stage, and that there are no open ports or<br />
hoses. Connect the first stage to a cylinder that is filled with<br />
3,000 psi, and open the cylinder valve to pressurize the regulator.<br />
2. If leakage cannot be heard, or if the source of leakage detected<br />
audibly is not obvious, immerse the first stage in fresh water to<br />
check further for any signs of air leakage, especially at the fittings<br />
of hoses.<br />
3. Note the source of any leakage found and refer to<br />
the Troubleshooting Guide to determine its possible cause.<br />
4. Close the cylinder valve and depress the second stage purge<br />
button to depressurize the regulator before performing the next<br />
procedure.<br />
Intermediate Pressure Test<br />
SeaAir Regulator <strong>Service</strong> and <strong>Repair</strong> <strong>Manual</strong><br />
6


