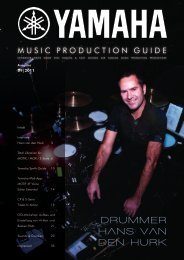
Drummer Hans van Den Hurk - EasySounds
Drummer Hans van Den Hurk - EasySounds
Drummer Hans van Den Hurk - EasySounds

You also want an ePaper? Increase the reach of your titles
YUMPU automatically turns print PDFs into web optimized ePapers that Google loves.
YamaHa musIC PrODuCtIOn GuIDe<br />
09|2011<br />
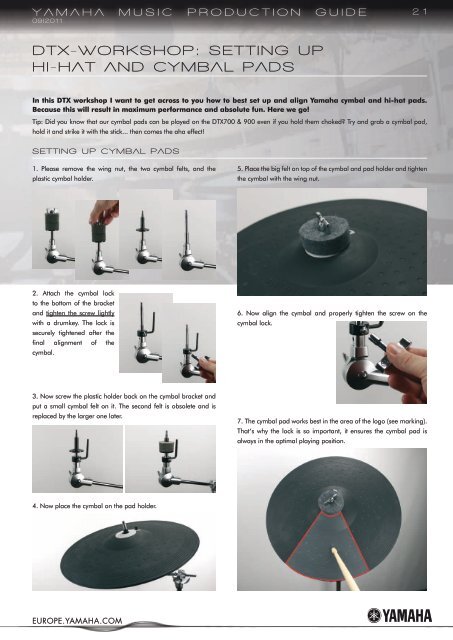
DtX-wOrksHOP: settInG uP<br />
HI-Hat anD CYmbal PaDs<br />
In this DTX workshop I want to get across to you how to best set up and align Yamaha cymbal and hi-hat pads.<br />
Because this will result in maximum performance and absolute fun. Here we go!<br />
Tip: Did you know that our cymbal pads can be played on the DTX700 & 900 even if you hold them choked? Try and grab a cymbal pad,<br />
hold it and strike it with the stick... then comes the aha effect!<br />
settInG uP CYmbal PaDs<br />
1. Please remove the wing nut, the two cymbal felts, and the<br />
plastic cymbal holder.<br />
2. Attach the cymbal lock<br />
to the bottom of the bracket<br />
and tighten the screw lightly<br />
with a drumkey. The lock is<br />
securely tightened after the<br />
final alignment of the<br />
cymbal.<br />
3. Now screw the plastic holder back on the cymbal bracket and<br />
put a small cymbal felt on it. The second felt is obsolete and is<br />
replaced by the larger one later.<br />
4. Now place the cymbal on the pad holder.<br />
EUROPE.YAMAHA.COM<br />
21<br />
5. Place the big felt on top of the cymbal and pad holder and tighten<br />
the cymbal with the wing nut.<br />
6. Now align the cymbal and properly tighten the screw on the<br />
cymbal lock.<br />
7. The cymbal pad works best in the area of the logo (see marking).<br />
That‘s why the lock is so important, it ensures the cymbal pad is<br />
always in the optimal playing position.