Nessus 5.0 Installation and Configuration Guide - Tenable Network
Nessus 5.0 Installation and Configuration Guide - Tenable Network
Nessus 5.0 Installation and Configuration Guide - Tenable Network

You also want an ePaper? Increase the reach of your titles
YUMPU automatically turns print PDFs into web optimized ePapers that Google loves.
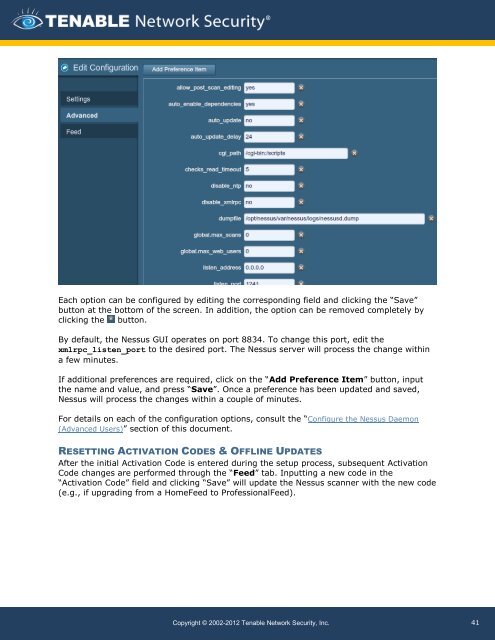
Each option can be configured by editing the corresponding field <strong>and</strong> clicking the “Save”<br />
button at the bottom of the screen. In addition, the option can be removed completely by<br />
clicking the button.<br />
By default, the <strong>Nessus</strong> GUI operates on port 8834. To change this port, edit the<br />
xmlrpc_listen_port to the desired port. The <strong>Nessus</strong> server will process the change within<br />
a few minutes.<br />
If additional preferences are required, click on the “Add Preference Item” button, input<br />
the name <strong>and</strong> value, <strong>and</strong> press “Save”. Once a preference has been updated <strong>and</strong> saved,<br />
<strong>Nessus</strong> will process the changes within a couple of minutes.<br />
For details on each of the configuration options, consult the “Configure the <strong>Nessus</strong> Daemon<br />
(Advanced Users)” section of this document.<br />
RESETTING ACTIVATION CODES & OFFLINE UPDATES<br />
After the initial Activation Code is entered during the setup process, subsequent Activation<br />
Code changes are performed through the “Feed” tab. Inputting a new code in the<br />
“Activation Code” field <strong>and</strong> clicking “Save” will update the <strong>Nessus</strong> scanner with the new code<br />
(e.g., if upgrading from a HomeFeed to ProfessionalFeed).<br />
Copyright © 2002-2012 <strong>Tenable</strong> <strong>Network</strong> Security, Inc.<br />
41