OPTA Comms - Crane Electronics Ltd
OPTA Comms - Crane Electronics Ltd
OPTA Comms - Crane Electronics Ltd

You also want an ePaper? Increase the reach of your titles
YUMPU automatically turns print PDFs into web optimized ePapers that Google loves.
Quick Start Guide for Opta <strong>Comms</strong><br />
SECTION B – Operating Opta <strong>Comms</strong><br />
10. Place the wrench in its cradle and should get a charge light come, indicating it is connected. The<br />
cradle should be connected to Opta <strong>Comms</strong> using either RS232 or USB and the appropriate<br />
<strong>Comms</strong> channel should be selected. Make sure the wrench is on and select the <strong>Comms</strong> function<br />
on the main menu of the wrench. The wrench will state “External Communications Ready”.<br />
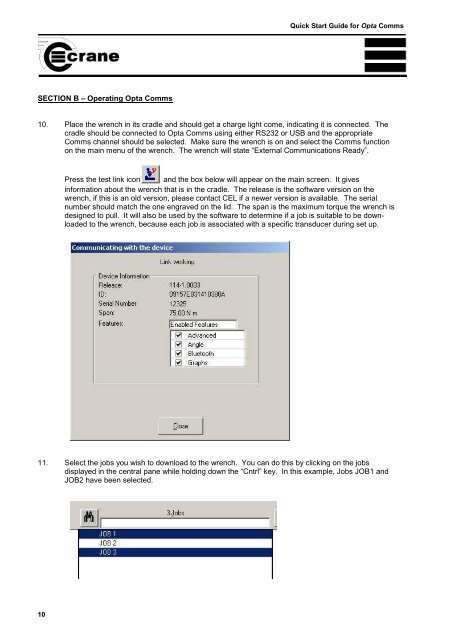
Press the test link icon and the box below will appear on the main screen. It gives<br />
information about the wrench that is in the cradle. The release is the software version on the<br />
wrench, if this is an old version, please contact CEL if a newer version is available. The serial<br />
number should match the one engraved on the lid. The span is the maximum torque the wrench is<br />
designed to pull. It will also be used by the software to determine if a job is suitable to be downloaded<br />
to the wrench, because each job is associated with a specific transducer during set up.<br />
11. Select the jobs you wish to download to the wrench. You can do this by clicking on the jobs<br />
displayed in the central pane while holding down the “Cntrl” key. In this example, Jobs JOB1 and<br />
JOB2 have been selected.<br />
10