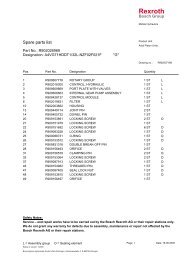
LT3-00032-2-A - DDKS Industries, hydraulic components distributor
LT3-00032-2-A - DDKS Industries, hydraulic components distributor
LT3-00032-2-A - DDKS Industries, hydraulic components distributor

You also want an ePaper? Increase the reach of your titles
YUMPU automatically turns print PDFs into web optimized ePapers that Google loves.
UNIT DISASSEMBLY<br />
(30 series barrel holddown<br />
continued)<br />
See figure 3. Push tubes (4) out of housing slots and toward barrel, do not bend or<br />
damage them.<br />
See figure 6. Lift housing (4) over tubes and barrel assembly and remove. Mounting<br />
flange must be driven from the housing due to tight fit.<br />
NOTE: Do not damage gasket faces in this process. Do not remove the retaining<br />
screws or bearing from the housing unless bearing is damaged and replacement is<br />
necessary.<br />
Barrel assembly can be removed by lifting with auxiliary shaft. The pistons will remain<br />
with the cam assembly. These parts are precision finished and must be handled with<br />
extreme care!<br />
PORT BLOCK<br />
See figure 8. Remove the check valve assemblies (7) from the port block.<br />
Remove plugs (9) and (10).<br />
Remove two screws (4), lockwashers (5), check rings (6) and clamps (3).<br />
DRIVE SHAFT<br />
See figure 7. NOTE: Pump cam must be on center 0° angle before removing shaft.<br />
Remove four screws (5), seal retainer (2), gaskets (4), and stationary part of shaft seal<br />
assembly (3). Refer to view of item (3).<br />
Remove the carbon ring and the remainder of the shaft seal from the shaft.<br />
Remove shaft and bearing assembly (1).<br />
ROCKER CAM AND CONTROL<br />
STROKING ASSEMBLY<br />
See figure 3. Remove pressure feed tubes (4) from the cradle. DO NOT BEND THESE<br />
LINES. Discard all bent lines.<br />
Remove the rocker cam assembly from the mounting flange by carefully tilting mounting<br />
flange on its side and using a 1/4-20 threaded rod as a puller, remove plugs (11)<br />
with o-rings (8), and then remove screws (9) attaching cradle to mounting flange.<br />
Position rocker cam assembly on a clean surface with the override tubes (2) in a<br />
horizontal position and located at the top.<br />
See figure 2. Mark the cam (21) and cradle (18) as indicated. These marks will<br />
determine positioning of parts during assembly.<br />
Position the assembly in an upright position on the flat surface of the cradle.<br />
Remove the retaining ring (1), thrust washer (2), piston and shoe assembly (4) and<br />
creep plate (5) from the rocker cam (21).<br />
Remove the four screws (11) and four screws (12) from the control chamber covers<br />
(13R) and (13L).<br />
Remove the control chambers (14). Remove the seals (17), four steel balls (16) and<br />
dowel pins (15).<br />
Remove the screw (3), vane seal cartridges (23), holddown vanes (22) from the rocker<br />
cam (21).<br />
Remove the rocker cam from the cradle (18).<br />
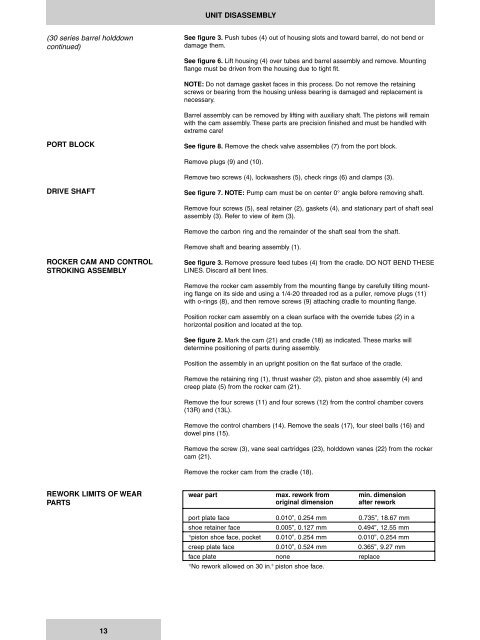
REWORK LIMITS OF WEAR<br />
PARTS<br />
wear part max. rework from min. dimension<br />
original dimension after rework<br />
port plate face 0.010”, 0.254 mm 0.735”, 18.67 mm<br />
shoe retainer face 0.005”, 0.127 mm 0.494”, 12.55 mm<br />
1)<br />
piston shoe face, pocket 0.010”, 0.254 mm 0.010”, 0.254 mm<br />
creep plate face 0.010”, 0.524 mm 0.365”, 9.27 mm<br />
face plate none replace<br />
1)<br />
No rework allowed on 30 in. 3 piston shoe face.<br />
13