

TX4600 - GME
TX4600 - GME
TX4600 - GME

You also want an ePaper? Increase the reach of your titles
YUMPU automatically turns print PDFs into web optimized ePapers that Google loves.
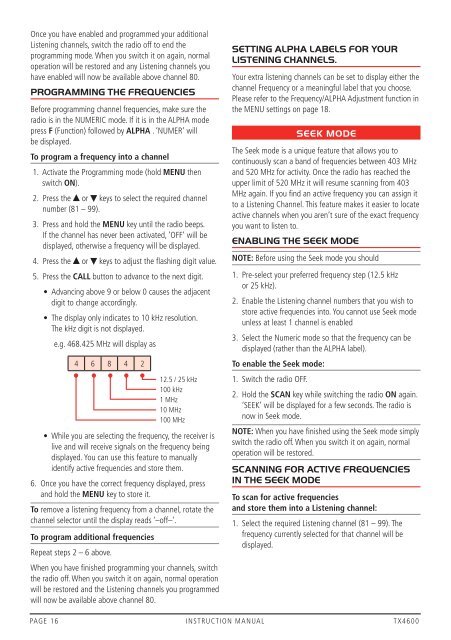
Once you have enabled and programmed your additionalListening channels, switch the radio off to end theprogramming mode. When you switch it on again, normaloperation will be restored and any Listening channels youhave enabled will now be available above channel 80.PROGRAMMING THE FREqUENCIESBefore programming channel frequencies, make sure theradio is in the NUMERIC mode. If it is in the ALPHA modepress F (function) followed by ALPHA . ‘NUMER’ willbe displayed.To program a frequency into a channel1. Activate the Programming mode (hold MeNU thenswitch oN).2. Press the or keys to select the required channelnumber (81 – 99).3. Press and hold the MeNU key until the radio beeps.If the channel has never been activated, ‘Off’ will bedisplayed, otherwise a frequency will be displayed.4. Press the or keys to adjust the flashing digit value.5. Press the CALL button to advance to the next digit.• Advancing above 9 or below 0 causes the adjacentdigit to change accordingly.• The display only indicates to 10 kHz resolution.The kHz digit is not displayed.e.g. 468.425 MHz will display as4 6 8 4 212.5 / 25 kHz100 kHz1 MHz10 MHz100 MHz• While you are selecting the frequency, the receiver islive and will receive signals on the frequency beingdisplayed. you can use this feature to manuallyidentify active frequencies and store them.6. Once you have the correct frequency displayed, pressand hold the MeNU key to store it.To remove a listening frequency from a channel, rotate thechannel selector until the display reads ‘–off–’.To program additional frequenciesRepeat steps 2 – 6 above.When you have finished programming your channels, switchthe radio off. When you switch it on again, normal operationwill be restored and the Listening channels you programmedwill now be available above channel 80.SETTING ALPHA LABELS FOR YOURLISTENING CHANNELS.your extra listening channels can be set to display either thechannel frequency or a meaningful label that you choose.Please refer to the frequency/ALPHA Adjustment function inthe MENU settings on page 18.SEEK MODEThe Seek mode is a unique feature that allows you tocontinuously scan a band of frequencies between 403 MHzand 520 MHz for activity. Once the radio has reached theupper limit of 520 MHz it will resume scanning from 403MHz again. If you find an active frequency you can assign itto a Listening Channel. This feature makes it easier to locateactive channels when you aren’t sure of the exact frequencyyou want to listen to.ENABLING THE SEEK MODENoTe: Before using the Seek mode you should1. Pre-select your preferred frequency step (12.5 kHzor 25 kHz).2. Enable the Listening channel numbers that you wish tostore active frequencies into. you cannot use Seek modeunless at least 1 channel is enabled3. Select the Numeric mode so that the frequency can bedisplayed (rather than the ALPHA label).To enable the Seek mode:1. Switch the radio Off.2. Hold the SCAN key while switching the radio oN again.‘SEEk’ will be displayed for a few seconds. The radio isnow in Seek mode.NoTe: When you have finished using the Seek mode simplyswitch the radio off. When you switch it on again, normaloperation will be restored.SCANNING FOR ACTIVE FREqUENCIESIN THE SEEK MODETo scan for active frequenciesand store them into a Listening channel:1. Select the required Listening channel (81 – 99). Thefrequency currently selected for that channel will bedisplayed.PAGE 16 INSTRUCTION MANUAL <strong>TX4600</strong>


