User Manual
User Manual
User Manual

You also want an ePaper? Increase the reach of your titles
YUMPU automatically turns print PDFs into web optimized ePapers that Google loves.
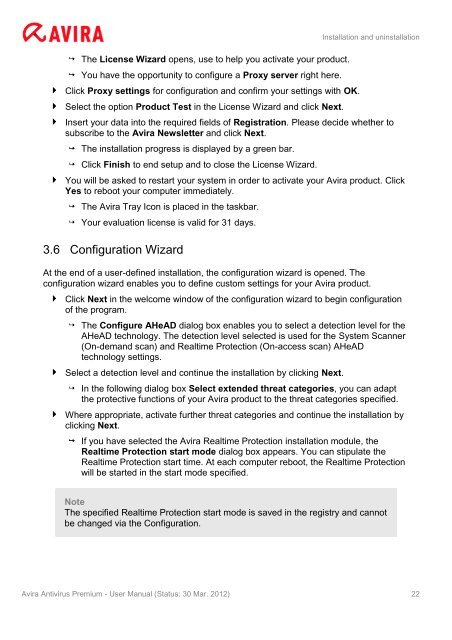
The License Wizard opens, use to help you activate your product.<br />
You have the opportunity to configure a Proxy server right here.<br />
Click Proxy settings for configuration and confirm your settings with OK.<br />
Select the option Product Test in the License Wizard and click Next.<br />
Installation and uninstallation<br />
Insert your data into the required fields of Registration. Please decide whether to<br />
subscribe to the Avira Newsletter and click Next.<br />
The installation progress is displayed by a green bar.<br />
Click Finish to end setup and to close the License Wizard.<br />
You will be asked to restart your system in order to activate your Avira product. Click<br />
Yes to reboot your computer immediately.<br />
The Avira Tray Icon is placed in the taskbar.<br />
Your evaluation license is valid for 31 days.<br />
3.6 Configuration Wizard<br />
At the end of a user-defined installation, the configuration wizard is opened. The<br />
configuration wizard enables you to define custom settings for your Avira product.<br />
Click Next in the welcome window of the configuration wizard to begin configuration<br />
of the program.<br />
The Configure AHeAD dialog box enables you to select a detection level for the<br />
AHeAD technology. The detection level selected is used for the System Scanner<br />
(On-demand scan) and Realtime Protection (On-access scan) AHeAD<br />
technology settings.<br />
Select a detection level and continue the installation by clicking Next.<br />
In the following dialog box Select extended threat categories, you can adapt<br />
the protective functions of your Avira product to the threat categories specified.<br />
Where appropriate, activate further threat categories and continue the installation by<br />
clicking Next.<br />
If you have selected the Avira Realtime Protection installation module, the<br />
Realtime Protection start mode dialog box appears. You can stipulate the<br />
Realtime Protection start time. At each computer reboot, the Realtime Protection<br />
will be started in the start mode specified.<br />
Note<br />
The specified Realtime Protection start mode is saved in the registry and cannot<br />
be changed via the Configuration.<br />
Avira Antivirus Premium - <strong>User</strong> <strong>Manual</strong> (Status: 30 Mar. 2012) 22