AP 720S Instruction Manual - Hitachi Chemical Diagnostics
AP 720S Instruction Manual - Hitachi Chemical Diagnostics
AP 720S Instruction Manual - Hitachi Chemical Diagnostics
- No tags were found...

You also want an ePaper? Increase the reach of your titles
YUMPU automatically turns print PDFs into web optimized ePapers that Google loves.
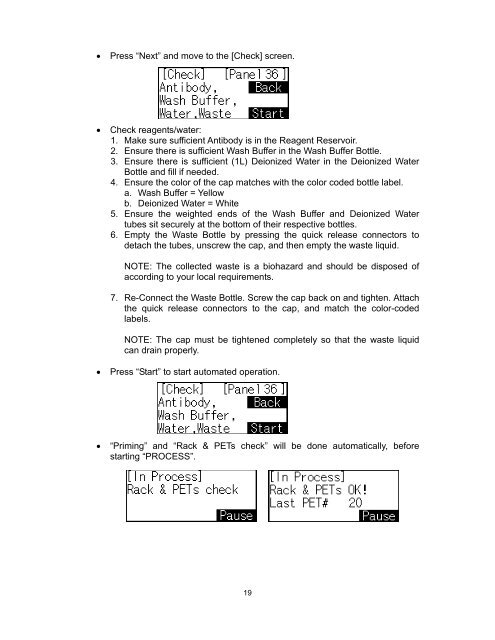
• Press “Next” and move to the [Check] screen.• Check reagents/water:1. Make sure sufficient Antibody is in the Reagent Reservoir.2. Ensure there is sufficient Wash Buffer in the Wash Buffer Bottle.3. Ensure there is sufficient (1L) Deionized Water in the Deionized WaterBottle and fill if needed.4. Ensure the color of the cap matches with the color coded bottle label.a. Wash Buffer = Yellowb. Deionized Water = White5. Ensure the weighted ends of the Wash Buffer and Deionized Watertubes sit securely at the bottom of their respective bottles.6. Empty the Waste Bottle by pressing the quick release connectors todetach the tubes, unscrew the cap, and then empty the waste liquid.NOTE: The collected waste is a biohazard and should be disposed ofaccording to your local requirements.7. Re-Connect the Waste Bottle. Screw the cap back on and tighten. Attachthe quick release connectors to the cap, and match the color-codedlabels.NOTE: The cap must be tightened completely so that the waste liquidcan drain properly.• Press “Start” to start automated operation.• “Priming” and “Rack & PETs check” will be done automatically, beforestarting “PROCESS”.19