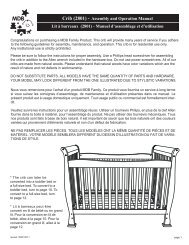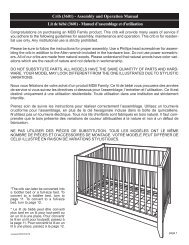
Mini Crib (4798) - Assembly and Operation Manual ... - DaVinci Baby
Mini Crib (4798) - Assembly and Operation Manual ... - DaVinci Baby
Mini Crib (4798) - Assembly and Operation Manual ... - DaVinci Baby
- No tags were found...

Create successful ePaper yourself
Turn your PDF publications into a flip-book with our unique Google optimized e-Paper software.
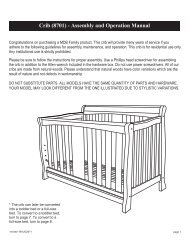
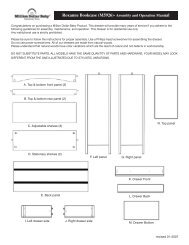
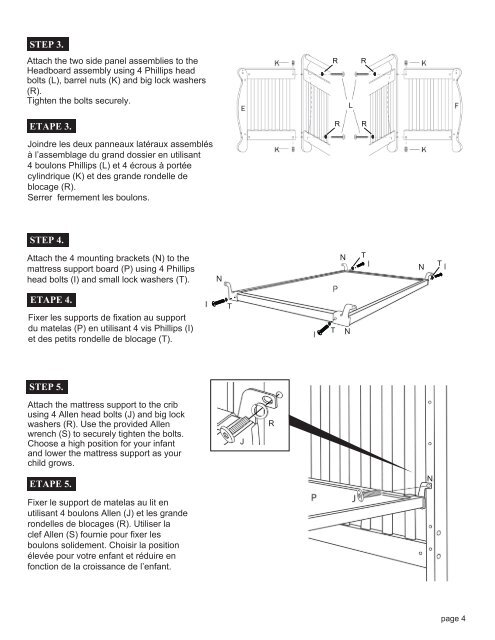
STEP 3.Attach the two side panel assemblies to theHeadboard assembly using 4 Phillips headbolts (L), barrel nuts (K) <strong>and</strong> big lock washers(R).Tighten the bolts securely.ETAPE 3.Joindre les deux panneaux latéraux assemblésà l’assemblage du gr<strong>and</strong> dossier en utilisant4 boulons Phillips (L) et 4 écrous à portéecylindrique (K) et des gr<strong>and</strong>e rondelle deblocage (R).Serrer fermement les boulons.RRRRSTEP 4.Attach the 4 mounting brackets (N) to themattress support board (P) using 4 Phillipshead bolts (I) <strong>and</strong> small lock washers (T).NNTNTETAPE 4.Fixer les supports de fixation au supportdu matelas (P) en utilisant 4 vis Phillips (I)et des petits rondelle de blocage (T).TTNSTEP 5.Attach the mattress support to the cribusing 4 Allen head bolts (J) <strong>and</strong> big lockwashers (R). Use the provided Allenwrench (S) to securely tighten the bolts.Choose a high position for your infant<strong>and</strong> lower the mattress support as yourchild grows.JRETAPE 5.NFixer le support de matelas au lit enutilisant 4 boulons Allen (J) et les gr<strong>and</strong>erondelles de blocages (R). Utiliser laclef Allen (S) fournie pour fixer lesboulons solidement. Choisir la positionélevée pour votre enfant et réduire enfonction de la croissance de l’enfant.page 4