MOUNTING & DEMOUNTING SAFETY INFORMATION - Titan
MOUNTING & DEMOUNTING SAFETY INFORMATION - Titan
MOUNTING & DEMOUNTING SAFETY INFORMATION - Titan
- No tags were found...
Create successful ePaper yourself
Turn your PDF publications into a flip-book with our unique Google optimized e-Paper software.
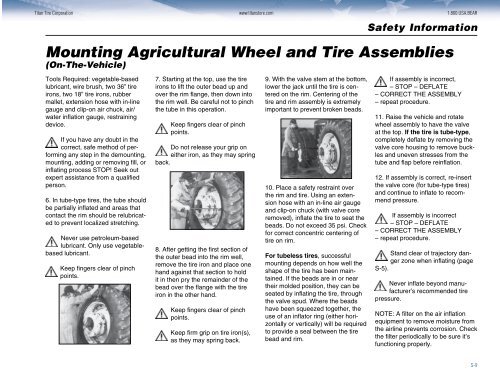
<strong>Titan</strong> Tire Corporation www.titanstore.com 1.800.USA.BEARSafety InformationMounting Agricultural Wheel and Tire Assemblies(On-The-Vehicle)Tools Required: vegetable-basedlubricant, wire brush, two 36” tireirons, two 18” tire irons, rubbermallet, extension hose with in-linegauge and clip-on air chuck, air/water inflation gauge, restrainingdevice.If you have any doubt in thecorrect, safe method of performingany step in the demounting,mounting, adding or removing fill, orinflating process STOP! Seek outexpert assistance from a qualifiedperson.6. In tube-type tires, the tube shouldbe partially inflated and areas thatcontact the rim should be relubricatedto prevent localized stretching.Never use petroleum-basedlubricant. Only use vegetablebasedlubricant.Keep fingers clear of pinchpoints.7. Starting at the top, use the tireirons to lift the outer bead up andover the rim flange, then down intothe rim well. Be careful not to pinchthe tube in this operation.Keep fingers clear of pinchpoints.Do not release your grip oneither iron, as they may springback.8. After getting the first section ofthe outer bead into the rim well,remove the tire iron and place onehand against that section to holdit in then pry the remainder of thebead over the flange with the tireiron in the other hand.Keep fingers clear of pinchpoints.Keep firm grip on tire iron(s),as they may spring back.9. With the valve stem at the bottom,lower the jack until the tire is centeredon the rim. Centering of thetire and rim assembly is extremelyimportant to prevent broken beads.10. Place a safety restraint overthe rim and tire. Using an extensionhose with an in-line air gaugeand clip-on chuck (with valve coreremoved), inflate the tire to seat thebeads. Do not exceed 35 psi. Checkfor correct concentric centering oftire on rim.For tubeless tires, successfulmounting depends on how well theshape of the tire has been maintained.If the beads are in or neartheir molded position, they can beseated by inflating the tire, throughthe valve spud. Where the beadshave been squeezed together, theuse of an inflator ring (either horizontallyor vertically) will be requiredto provide a seal between the tirebead and rim.If assembly is incorrect,– STOP – DEFLATE– CORRECT THE ASSEMBLY– repeat procedure.11. Raise the vehicle and rotatewheel assembly to have the valveat the top. If the tire is tube-type,completely deflate by removing thevalve core housing to remove bucklesand uneven stresses from thetube and flap before reinflation.12. If assembly is correct, re-insertthe valve core (for tube-type tires)and continue to inflate to recommendpressure.If assembly is incorrect– STOP – DEFLATE– CORRECT THE ASSEMBLY– repeat procedure.Stand clear of trajectory dangerzone when inflating (pageS-5).Never inflate beyond manufacturer’srecommended tirepressure.NOTE: A filter on the air inflationequipment to remove moisture fromthe airline prevents corrosion. Checkthe filter periodically to be sure it’sfunctioning properly.S-9


