Recalibration of Paroscientific Transducers ... - Paroscientific, Inc.
Recalibration of Paroscientific Transducers ... - Paroscientific, Inc.
Recalibration of Paroscientific Transducers ... - Paroscientific, Inc.
- No tags were found...
You also want an ePaper? Increase the reach of your titles
YUMPU automatically turns print PDFs into web optimized ePapers that Google loves.
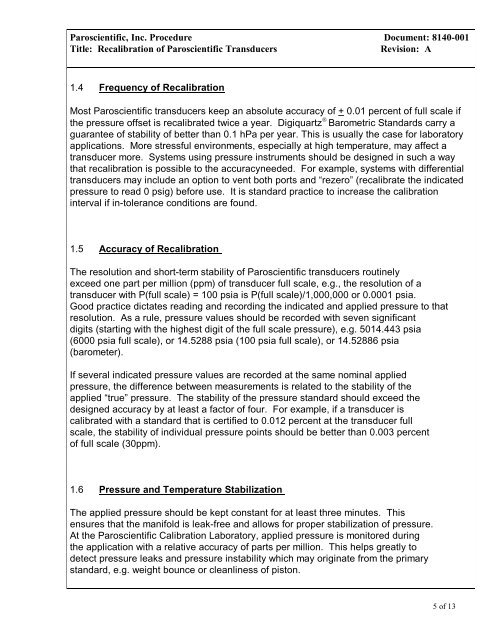
<strong>Paroscientific</strong>, <strong>Inc</strong>. Procedure Document: 8140-001Title: <strong>Recalibration</strong> <strong>of</strong> <strong>Paroscientific</strong> <strong>Transducers</strong>Revision: A1.4 Frequency <strong>of</strong> <strong>Recalibration</strong>Most <strong>Paroscientific</strong> transducers keep an absolute accuracy <strong>of</strong> + 0.01 percent <strong>of</strong> full scale ifthe pressure <strong>of</strong>fset is recalibrated twice a year. Digiquartz ® Barometric Standards carry aguarantee <strong>of</strong> stability <strong>of</strong> better than 0.1 hPa per year. This is usually the case for laboratoryapplications. More stressful environments, especially at high temperature, may affect atransducer more. Systems using pressure instruments should be designed in such a waythat recalibration is possible to the accuracyneeded. For example, systems with differentialtransducers may include an option to vent both ports and “rezero” (recalibrate the indicatedpressure to read 0 psig) before use. It is standard practice to increase the calibrationinterval if in-tolerance conditions are found.1.5 Accuracy <strong>of</strong> <strong>Recalibration</strong>The resolution and short-term stability <strong>of</strong> <strong>Paroscientific</strong> transducers routinelyexceed one part per million (ppm) <strong>of</strong> transducer full scale, e.g., the resolution <strong>of</strong> atransducer with P(full scale) = 100 psia is P(full scale)/1,000,000 or 0.0001 psia.Good practice dictates reading and recording the indicated and applied pressure to thatresolution. As a rule, pressure values should be recorded with seven significantdigits (starting with the highest digit <strong>of</strong> the full scale pressure), e.g. 5014.443 psia(6000 psia full scale), or 14.5288 psia (100 psia full scale), or 14.52886 psia(barometer).If several indicated pressure values are recorded at the same nominal appliedpressure, the difference between measurements is related to the stability <strong>of</strong> theapplied “true” pressure. The stability <strong>of</strong> the pressure standard should exceed thedesigned accuracy by at least a factor <strong>of</strong> four. For example, if a transducer iscalibrated with a standard that is certified to 0.012 percent at the transducer fullscale, the stability <strong>of</strong> individual pressure points should be better than 0.003 percent<strong>of</strong> full scale (30ppm).1.6 Pressure and Temperature StabilizationThe applied pressure should be kept constant for at least three minutes. Thisensures that the manifold is leak-free and allows for proper stabilization <strong>of</strong> pressure.At the <strong>Paroscientific</strong> Calibration Laboratory, applied pressure is monitored duringthe application with a relative accuracy <strong>of</strong> parts per million. This helps greatly todetect pressure leaks and pressure instability which may originate from the primarystandard, e.g. weight bounce or cleanliness <strong>of</strong> piston.5 <strong>of</strong> 13


