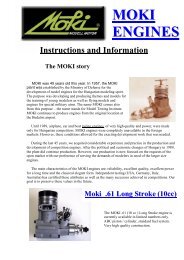
assembly instructions - Media.hobbypeople.net - Global Hobby ...
assembly instructions - Media.hobbypeople.net - Global Hobby ...
assembly instructions - Media.hobbypeople.net - Global Hobby ...

Create successful ePaper yourself
Turn your PDF publications into a flip-book with our unique Google optimized e-Paper software.
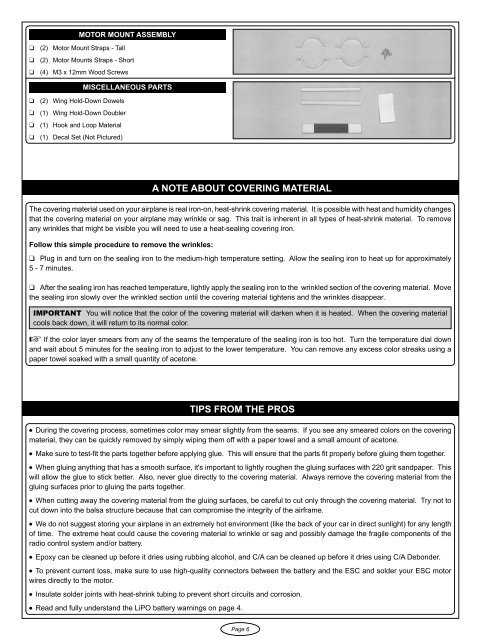
MOTOR MOUNT ASSEMBLY❑ (2) Motor Mount Straps - Tall❑ (2) Motor Mounts Straps - Short❑ (4) M3 x 12mm Wood ScrewsMISCELLANEOUS PARTS❑ (2) Wing Hold-Down Dowels❑ (1) Wing Hold-Down Doubler❑ (1) Hook and Loop Materialq (1) Decal Set (Not Pictured)A NOTE ABOUT COVERING MATERIALThe covering material used on your airplane is real iron-on, heat-shrink covering material. It is possible with heat and humidity changesthat the covering material on your airplane may wrinkle or sag. This trait is inherent in all types of heat-shrink material. To removeany wrinkles that might be visible you will need to use a heat-sealing covering iron.Follow this simple procedure to remove the wrinkles:❑ Plug in and turn on the sealing iron to the medium-high temperature setting. Allow the sealing iron to heat up for approximately5 - 7 minutes.❑ After the sealing iron has reached temperature, lightly apply the sealing iron to the wrinkled section of the covering material. Movethe sealing iron slowly over the wrinkled section until the covering material tightens and the wrinkles disappear.IMPORTANT You will notice that the color of the covering material will darken when it is heated. When the covering materialcools back down, it will return to its normal color.☞ If the color layer smears from any of the seams the temperature of the sealing iron is too hot. Turn the temperature dial downand wait about 5 minutes for the sealing iron to adjust to the lower temperature. You can remove any excess color streaks using apaper towel soaked with a small quantity of acetone.TIPS FROM THE PROS● During the covering process, sometimes color may smear slightly from the seams. If you see any smeared colors on the coveringmaterial, they can be quickly removed by simply wiping them off with a paper towel and a small amount of acetone.● Make sure to test-fit the parts together before applying glue. This will ensure that the parts fit properly before gluing them together.● When gluing anything that has a smooth surface, it's important to lightly roughen the gluing surfaces with 220 grit sandpaper. Thiswill allow the glue to stick better. Also, never glue directly to the covering material. Always remove the covering material from thegluing surfaces prior to gluing the parts together.● When cutting away the covering material from the gluing surfaces, be careful to cut only through the covering material. Try not tocut down into the balsa structure because that can compromise the integrity of the airframe.● We do not suggest storing your airplane in an extremely hot environment (like the back of your car in direct sunlight) for any lengthof time. The extreme heat could cause the covering material to wrinkle or sag and possibly damage the fragile components of theradio control system and/or battery.● Epoxy can be cleaned up before it dries using rubbing alcohol, and C/A can be cleaned up before it dries using C/A Debonder.l To prevent current loss, make sure to use high-quality connectors between the battery and the ESC and solder your ESC motorwires directly to the motor.l Insulate solder joints with heat-shrink tubing to prevent short circuits and corrosion.l Read and fully understand the LiPO battery warnings on page 4.Page