Installation Guide - DATAQ Instruments
Installation Guide - DATAQ Instruments
Installation Guide - DATAQ Instruments
Create successful ePaper yourself
Turn your PDF publications into a flip-book with our unique Google optimized e-Paper software.
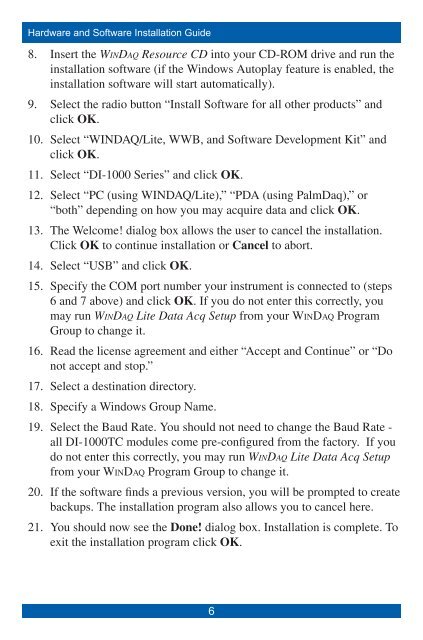
Hardware and Software <strong>Installation</strong> <strong>Guide</strong>8.9.10.11.12.13.14.15.16.17.18.19.20.21.Insert the WinDaq Resource CD into your CD-ROM drive and run theinstallation software (if the Windows Autoplay feature is enabled, theinstallation software will start automatically).Select the radio button “Install Software for all other products” andclick OK.Select “WINDAQ/Lite, WWB, and Software Development Kit” andclick OK.Select “DI-1000 Series” and click OK.Select “PC (using WINDAQ/Lite),” “PDA (using PalmDaq),” or“both” depending on how you may acquire data and click OK.The Welcome! dialog box allows the user to cancel the installation.Click OK to continue installation or Cancel to abort.Select “USB” and click OK.Specify the COM port number your instrument is connected to (steps6 and 7 above) and click OK. If you do not enter this correctly, youmay run WinDaq Lite Data Acq Setup from your WinDaq ProgramGroup to change it.Read the license agreement and either “Accept and Continue” or “Donot accept and stop.”Select a destination directory.Specify a Windows Group Name.Select the Baud Rate. You should not need to change the Baud Rate -all DI-1000TC modules come pre-configured from the factory. If youdo not enter this correctly, you may run WinDaq Lite Data Acq Setupfrom your WinDaq Program Group to change it.If the software finds a previous version, you will be prompted to createbackups. The installation program also allows you to cancel here.You should now see the Done! dialog box. <strong>Installation</strong> is complete. Toexit the installation program click OK.


