PVE and PVHC for PVG 32, PVG 100 and PVG 120 ... - Sauer-Danfoss
PVE and PVHC for PVG 32, PVG 100 and PVG 120 ... - Sauer-Danfoss
PVE and PVHC for PVG 32, PVG 100 and PVG 120 ... - Sauer-Danfoss
You also want an ePaper? Increase the reach of your titles
YUMPU automatically turns print PDFs into web optimized ePapers that Google loves.
Test <strong>and</strong> use of <strong>PVG</strong> <strong>and</strong><br />
Actuator<br />
Returning Replaced<br />
Actuator <strong>for</strong> Customer<br />
Claims<br />
Important Note <strong>for</strong><br />
Digital Actuators<br />
Parameter transfer<br />
14 L1223449 • Rev AA • May 2012<br />
<strong>PVE</strong> <strong>and</strong> <strong>PVHC</strong> <strong>for</strong> <strong>PVG</strong> <strong>32</strong>, <strong>PVG</strong> <strong>100</strong> <strong>and</strong> <strong>PVG</strong> <strong>120</strong><br />
Service Manual<br />
Exchanging <strong>PVE</strong> or <strong>PVHC</strong><br />
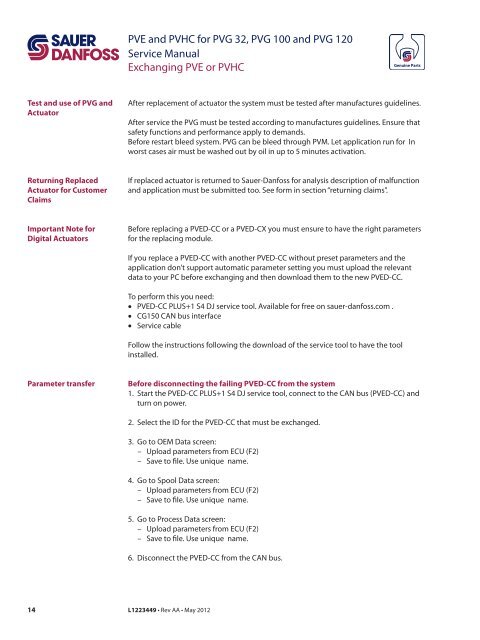
After replacement of actuator the system must be tested after manufactures guidelines.<br />
After service the <strong>PVG</strong> must be tested according to manufactures guidelines. Ensure that<br />
safety functions <strong>and</strong> per<strong>for</strong>mance apply to dem<strong>and</strong>s.<br />
Be<strong>for</strong>e restart bleed system. <strong>PVG</strong> can be bleed through PVM. Let application run <strong>for</strong> In<br />
worst cases air must be washed out by oil in up to 5 minutes activation.<br />
If replaced actuator is returned to <strong>Sauer</strong>-<strong>Danfoss</strong> <strong>for</strong> analysis description of malfunction<br />
<strong>and</strong> application must be submitted too. See <strong>for</strong>m in section “returning claims”.<br />
Be<strong>for</strong>e replacing a <strong>PVE</strong>D-CC or a <strong>PVE</strong>D-CX you must ensure to have the right parameters<br />
<strong>for</strong> the replacing module.<br />
If you replace a <strong>PVE</strong>D-CC with another <strong>PVE</strong>D-CC without preset parameters <strong>and</strong> the<br />
application don’t support automatic parameter setting you must upload the relevant<br />
data to your PC be<strong>for</strong>e exchanging <strong>and</strong> then download them to the new <strong>PVE</strong>D-CC.<br />
To per<strong>for</strong>m this you need:<br />
• <strong>PVE</strong>D-CC PLUS+1 S4 DJ service tool. Available <strong>for</strong> free on sauer-danfoss.com .<br />
• CG150 CAN bus interface<br />
• Service cable<br />
Follow the instructions following the download of the service tool to have the tool<br />
installed.<br />
Be<strong>for</strong>e disconnecting the failing <strong>PVE</strong>D-CC from the system<br />
1. Start the <strong>PVE</strong>D-CC PLUS+1 S4 DJ service tool, connect to the CAN bus (<strong>PVE</strong>D-CC) <strong>and</strong><br />
turn on power.<br />
2. Select the ID <strong>for</strong> the <strong>PVE</strong>D-CC that must be exchanged.<br />
3. Go to OEM Data screen:<br />
– Upload parameters from ECU (F2)<br />
– Save to file. Use unique name.<br />
4. Go to Spool Data screen:<br />
– Upload parameters from ECU (F2)<br />
– Save to file. Use unique name.<br />
5. Go to Process Data screen:<br />
– Upload parameters from ECU (F2)<br />
– Save to file. Use unique name.<br />
6. Disconnect the <strong>PVE</strong>D-CC from the CAN bus.


