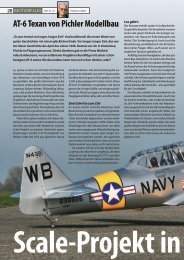
Instruction Manual book - Pichler
Instruction Manual book - Pichler
Instruction Manual book - Pichler

You also want an ePaper? Increase the reach of your titles
YUMPU automatically turns print PDFs into web optimized ePapers that Google loves.
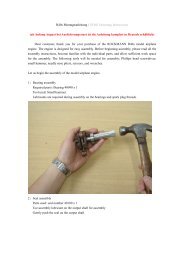
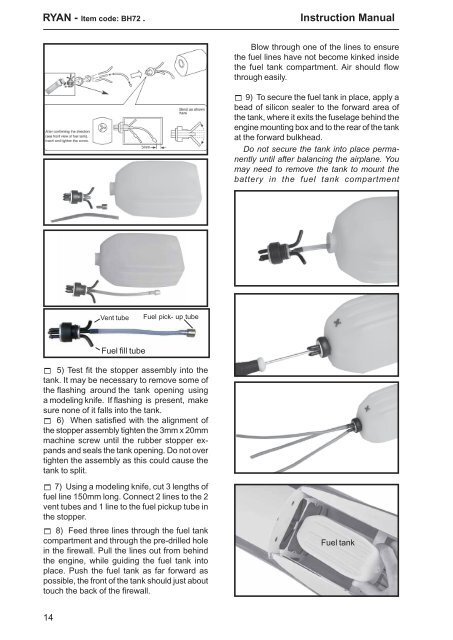
RYAN - Item code: BH72 .<strong>Instruction</strong> <strong>Manual</strong>Blow through one of the lines to ensurethe fuel lines have not become kinked insidethe fuel tank compartment. Air should flowthrough easily. 9) To secure the fuel tank in place, apply abead of silicon sealer to the forward area ofthe tank, where it exits the fuselage behind theengine mounting box and to the rear of the tankat the forward bulkhead.Do not secure the tank into place permanentlyuntil after balancing the airplane. Youmay need to remove the tank to mount thebattery in the fuel tank compartmentVent tubeFuel pick- up tubeFuel fill tube 5) Test fit the stopper assembly into thetank. It may be necessary to remove some ofthe flashing around the tank opening usinga modeling knife. If flashing is present, makesure none of it falls into the tank. 6) When satisfied with the alignment ofthe stopper assembly tighten the 3mm x 20mmmachine screw until the rubber stopper expandsand seals the tank opening. Do not overtighten the assembly as this could cause thetank to split. 7) Using a modeling knife, cut 3 lengths offuel line 150mm long. Connect 2 lines to the 2vent tubes and 1 line to the fuel pickup tube inthe stopper. 8) Feed three lines through the fuel tankcompartment and through the pre-drilled holein the firewall. Pull the lines out from behindthe engine, while guiding the fuel tank intoplace. Push the fuel tank as far forward aspossible, the front of the tank should just abouttouch the back of the firewall.Fuel tank14