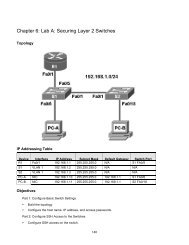
Chapter 3 Lab A" Securing Administrative Access Using AAA and RADIUS
Chapter 3: Lab A" Securing Administrative Access Using AAA and ...
Chapter 3: Lab A" Securing Administrative Access Using AAA and ...
- No tags were found...
You also want an ePaper? Increase the reach of your titles
YUMPU automatically turns print PDFs into web optimized ePapers that Google loves.
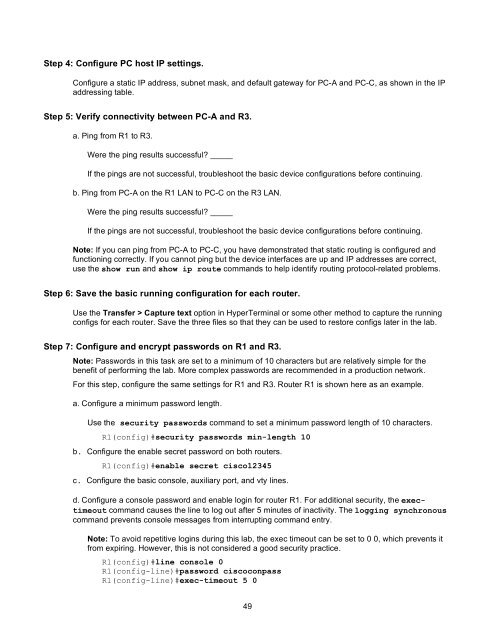
Step 4: Configure PC host IP settings.<br />
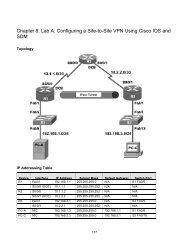
Configure a static IP address, subnet mask, <strong>and</strong> default gateway for PC-A <strong>and</strong> PC-C, as shown in the IP<br />
addressing table.<br />
Step 5: Verify connectivity between PC-A <strong>and</strong> R3.<br />
a. Ping from R1 to R3.<br />
Were the ping results successful? _____<br />
If the pings are not successful, troubleshoot the basic device configurations before continuing.<br />
b. Ping from PC-A on the R1 LAN to PC-C on the R3 LAN.<br />
Were the ping results successful? _____<br />
If the pings are not successful, troubleshoot the basic device configurations before continuing.<br />
Note: If you can ping from PC-A to PC-C, you have demonstrated that static routing is configured <strong>and</strong><br />
functioning correctly. If you cannot ping but the device interfaces are up <strong>and</strong> IP addresses are correct,<br />
use the show run <strong>and</strong> show ip route comm<strong>and</strong>s to help identify routing protocol-related problems.<br />
Step 6: Save the basic running configuration for each router.<br />
Use the Transfer > Capture text option in HyperTerminal or some other method to capture the running<br />
configs for each router. Save the three files so that they can be used to restore configs later in the lab.<br />
Step 7: Configure <strong>and</strong> encrypt passwords on R1 <strong>and</strong> R3.<br />
Note: Passwords in this task are set to a minimum of 10 characters but are relatively simple for the<br />
benefit of performing the lab. More complex passwords are recommended in a production network.<br />
For this step, configure the same settings for R1 <strong>and</strong> R3. Router R1 is shown here as an example.<br />
a. Configure a minimum password length.<br />
Use the security passwords comm<strong>and</strong> to set a minimum password length of 10 characters.<br />
R1(config)#security passwords min-length 10<br />
b. Configure the enable secret password on both routers.<br />
R1(config)#enable secret cisco12345<br />
c. Configure the basic console, auxiliary port, <strong>and</strong> vty lines.<br />
d. Configure a console password <strong>and</strong> enable login for router R1. For additional security, the exectimeout<br />
comm<strong>and</strong> causes the line to log out after 5 minutes of inactivity. The logging synchronous<br />
comm<strong>and</strong> prevents console messages from interrupting comm<strong>and</strong> entry.<br />
Note: To avoid repetitive logins during this lab, the exec timeout can be set to 0 0, which prevents it<br />
from expiring. However, this is not considered a good security practice.<br />
R1(config)#line console 0<br />
R1(config-line)#password ciscoconpass<br />
R1(config-line)#exec-timeout 5 0<br />
49


