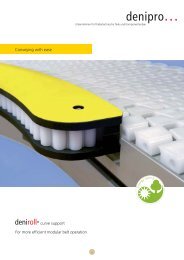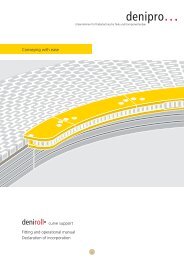
Conveying with ease Assembly, operating and insertion - Denipro
Conveying with ease Assembly, operating and insertion - Denipro
Conveying with ease Assembly, operating and insertion - Denipro

Create successful ePaper yourself
Turn your PDF publications into a flip-book with our unique Google optimized e-Paper software.
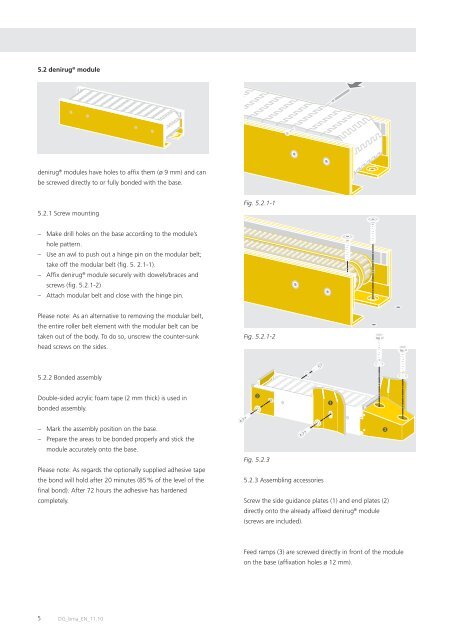
5.2 denirug ® module<br />
denirug ® modules have holes to affi x them (ø 9 mm) <strong>and</strong> can<br />
be screwed directly to or fully bonded <strong>with</strong> the base.<br />
5.2.1 Screw mounting<br />
– Make drill holes on the base according to the module’s<br />
hole pattern.<br />
– Use an awl to push out a hinge pin on the modular belt;<br />
take off the modular belt (fi g. 5. 2.1-1).<br />
– Affi x denirug ® module securely <strong>with</strong> dowels/braces <strong>and</strong><br />
screws (fi g. 5.2.1-2)<br />
– Attach modular belt <strong>and</strong> close <strong>with</strong> the hinge pin.<br />
Pl<strong>ease</strong> note: As an alternative to removing the modular belt,<br />
the entire roller belt element <strong>with</strong> the modular belt can be<br />
taken out of the body. To do so, unscrew the counter-sunk<br />
head screws on the sides.<br />
5.2.2 Bonded assembly<br />
Double-sided acrylic foam tape (2 mm thick) is used in<br />
bonded assembly.<br />
– Mark the assembly position on the base.<br />
– Prepare the areas to be bonded properly <strong>and</strong> stick the<br />
module accurately onto the base.<br />
Pl<strong>ease</strong> note: As regards the optionally supplied adhesive tape<br />
the bond will hold after 20 minutes (85% of the level of the<br />
fi nal bond). After 72 hours the adhesive has hardened<br />
completely.<br />
5 DG_bma_EN_11.10<br />
Fig. 5.2.1-1<br />
Fig. 5.2.1-2<br />
➋<br />
Fig. 5.2.3<br />
5.2.3 Assembling accessories<br />
Screw the side guidance plates (1) <strong>and</strong> end plates (2)<br />
directly onto the already affi xed denirug ® module<br />
(screws are included).<br />
Feed ramps (3) are screwed directly in front of the module<br />
on the base (affi xation holes ø 12 mm).<br />
➊<br />
➌