Installing the SD Card - Car Guard Systems GmbH
Installing the SD Card - Car Guard Systems GmbH
Installing the SD Card - Car Guard Systems GmbH

You also want an ePaper? Increase the reach of your titles
YUMPU automatically turns print PDFs into web optimized ePapers that Google loves.
Once <strong>the</strong> calculation is complete you can ei<strong>the</strong>r press ‘Go’ to start navigation, ‘Simulation’ to see <strong>the</strong> actual route that will be<br />
taken, ‘Route Option’ to change <strong>the</strong> parameters of <strong>the</strong> route or ‘Guide’ which will list <strong>the</strong> turn by turn instructions of <strong>the</strong> journey.<br />
The ‘Summary Screen’ will tell you <strong>the</strong> distance to your destination, estimated time of arrival and <strong>the</strong> estimated time it will take<br />
to complete your journey.<br />
Please note: The summary screen is only displayed for approximately 10 seconds before <strong>the</strong> unit automatically begins to<br />
provide you with turn-by-turn instructions.<br />
3.11<br />
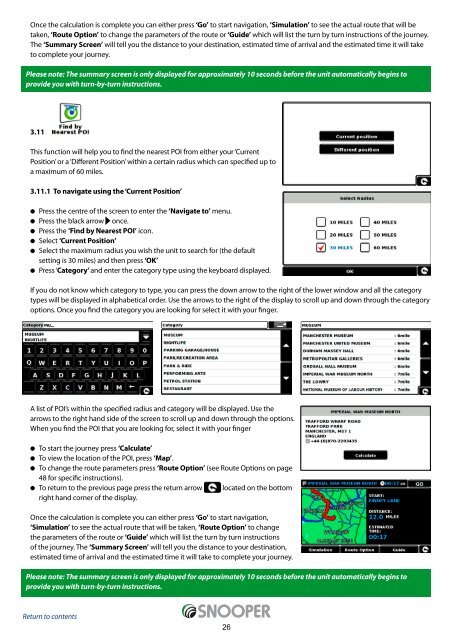
This function will help you to find <strong>the</strong> nearest POI from ei<strong>the</strong>r your ‘Current<br />
Position’ or a ‘Different Position’ within a certain radius which can specified up to<br />
a maximum of 60 miles.<br />
3.11.1 To navigate using <strong>the</strong> ‘Current Position’<br />
l Press <strong>the</strong> centre of <strong>the</strong> screen to enter <strong>the</strong> ‘Navigate to’ menu.<br />
l Press <strong>the</strong> black arrow once.<br />
l Press <strong>the</strong> ‘Find by Nearest POI’ icon.<br />
l Select ‘Current Position’<br />
l Select <strong>the</strong> maximum radius you wish <strong>the</strong> unit to search for (<strong>the</strong> default<br />
setting is 30 miles) and <strong>the</strong>n press ‘OK’<br />
l Press ‘Category’ and enter <strong>the</strong> category type using <strong>the</strong> keyboard displayed.<br />
If you do not know which category to type, you can press <strong>the</strong> down arrow to <strong>the</strong> right of <strong>the</strong> lower window and all <strong>the</strong> category<br />
types will be displayed in alphabetical order. Use <strong>the</strong> arrows to <strong>the</strong> right of <strong>the</strong> display to scroll up and down through <strong>the</strong> category<br />
options. Once you find <strong>the</strong> category you are looking for select it with your finger.<br />
A list of POI’s within <strong>the</strong> specified radius and category will be displayed. Use <strong>the</strong><br />
arrows to <strong>the</strong> right hand side of <strong>the</strong> screen to scroll up and down through <strong>the</strong> options.<br />
When you find <strong>the</strong> POI that you are looking for, select it with your finger<br />
l To start <strong>the</strong> journey press ‘Calculate’<br />
l To view <strong>the</strong> location of <strong>the</strong> POI, press ‘Map’.<br />
l To change <strong>the</strong> route parameters press ‘Route Option’ (see Route Options on page<br />
48 for specific instructions).<br />
l To return to <strong>the</strong> previous page press <strong>the</strong> return arrow located on <strong>the</strong> bottom<br />
right hand corner of <strong>the</strong> display.<br />
Once <strong>the</strong> calculation is complete you can ei<strong>the</strong>r press ‘Go’ to start navigation,<br />
‘Simulation’ to see <strong>the</strong> actual route that will be taken, ‘Route Option’ to change<br />
<strong>the</strong> parameters of <strong>the</strong> route or ‘Guide’ which will list <strong>the</strong> turn by turn instructions<br />
of <strong>the</strong> journey. The ‘Summary Screen’ will tell you <strong>the</strong> distance to your destination,<br />
estimated time of arrival and <strong>the</strong> estimated time it will take to complete your journey.<br />
Please note: The summary screen is only displayed for approximately 10 seconds before <strong>the</strong> unit automatically begins to<br />
provide you with turn-by-turn instructions.<br />
Return to contents<br />
26