Space Weather Monitors SID Users Manual - Stanford Solar Center ...
Space Weather Monitors SID Users Manual - Stanford Solar Center ...
Space Weather Monitors SID Users Manual - Stanford Solar Center ...

You also want an ePaper? Increase the reach of your titles
YUMPU automatically turns print PDFs into web optimized ePapers that Google loves.
<strong>Space</strong> <strong>Weather</strong> <strong>Monitors</strong> <strong>SID</strong> <strong>Manual</strong><br />
Installation Check-list<br />
� Step 1. Get Prepared (more details following)<br />
� Familiarize yourself with <strong>SID</strong> concepts & hardware components<br />
� Find a place for the equipment<br />
� Assure you have the necessary safety precautions in place and permissions to use<br />
facilities<br />
� Step 2. Construct your antenna (detailed instructions follow)<br />
� Decide on small or large loop<br />
� Put together a parts list<br />
� Obtain wood, PCV pipe, or some sort of structure to hold up a 30” or larger<br />
square of wrapped cable<br />
� The amount and type of wire selected to wind the antenna can change based on<br />
the selection for the antenna.<br />
� For a small antenna you will need about 50 turns of #26 AWG<br />
(American Wire Gauge) wire, approximately 10 ohms. #26 AWG wire<br />
is 0.40386 mm in diameter with 40.81 Ohms/1000ft.<br />
� For a large antenna you will use fewer turns, e.g. 25 turns of 20 AWG<br />
(or 0.8128 mm diameter) wire.<br />
� ~50 feet of RG-58 coax cable<br />
The amount of coax cable required changes according to the site, you may require<br />
more or less cable than 50 feet. RG-59 coax can be substituted. However you<br />
will need the corresponding BNC or TNC connector since the RG-58 connector is<br />
too small for the RG-59 coax.<br />
� BNC or TNC connector to connect to <strong>SID</strong> monitor (provided in your <strong>SID</strong> kit).<br />
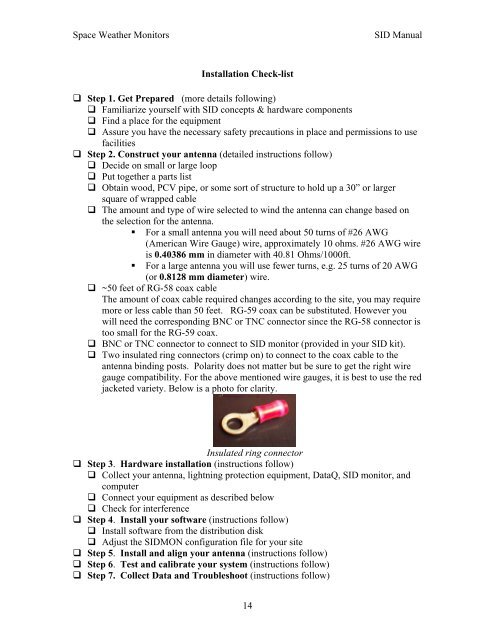
� Two insulated ring connectors (crimp on) to connect to the coax cable to the<br />
antenna binding posts. Polarity does not matter but be sure to get the right wire<br />
gauge compatibility. For the above mentioned wire gauges, it is best to use the red<br />
jacketed variety. Below is a photo for clarity.<br />
Insulated ring connector<br />
� Step 3. Hardware installation (instructions follow)<br />
� Collect your antenna, lightning protection equipment, DataQ, <strong>SID</strong> monitor, and<br />
computer<br />
� Connect your equipment as described below<br />
� Check for interference<br />
� Step 4. Install your software (instructions follow)<br />
� Install software from the distribution disk<br />
� Adjust the <strong>SID</strong>MON configuration file for your site<br />
� Step 5. Install and align your antenna (instructions follow)<br />
� Step 6. Test and calibrate your system (instructions follow)<br />
� Step 7. Collect Data and Troubleshoot (instructions follow)<br />
14