DG-1000T - DG Flugzeugbau
DG-1000T - DG Flugzeugbau
DG-1000T - DG Flugzeugbau
You also want an ePaper? Increase the reach of your titles
YUMPU automatically turns print PDFs into web optimized ePapers that Google loves.
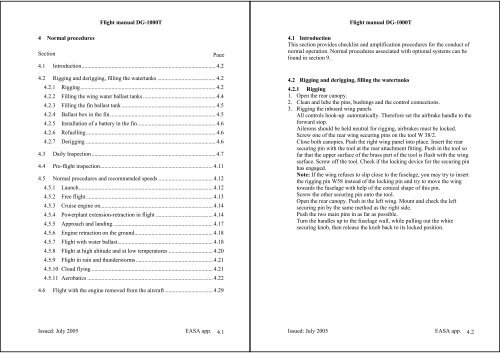
4 Normal procedures<br />
Section<br />
Flight manual <strong>DG</strong>-<strong>1000T</strong><br />
Page<br />
4.1 Introduction.............................................................................................. 4.2<br />
4.2 Rigging and derigging, filling the watertanks ......................................... 4.2<br />
4.2.1 Rigging............................................................................................... 4.2<br />
4.2.2 Filling the wing water ballast tanks ................................................... 4.4<br />
4.2.3 Filling the fin ballast tank .................................................................. 4.5<br />
4.2.4 Ballast box in the fin .......................................................................... 4.5<br />
4.2.5 Installation of a battery in the fin....................................................... 4.6<br />
4.2.6 Refuelling........................................................................................... 4.6<br />
4.2.7 Derigging ........................................................................................... 4.6<br />
4.3 Daily Inspection ....................................................................................... 4.7<br />
4.4 Pre-flight inspection............................................................................... 4.11<br />
4.5 Normal procedures and recommended speeds ...................................... 4.12<br />
4.5.1 Launch.............................................................................................. 4.12<br />
4.5.2 Free flight......................................................................................... 4.13<br />
4.5.3 Cruise engine on............................................................................... 4.14<br />
4.5.4 Powerplant extension-retraction in flight ........................................ 4.14<br />
4.5.5 Approach and landing ...................................................................... 4.17<br />
4.5.6 Engine retraction on the ground....................................................... 4.18<br />
4.5.7 Flight with water ballast................................................................... 4.18<br />
4.5.8 Flight at high altitude and at low temperatures ............................... 4.20<br />
4.5.9 Flight in rain and thunderstorms...................................................... 4.21<br />
4.5.10 Cloud flying ..................................................................................... 4.21<br />
4.5.11 Aerobatics ........................................................................................ 4.22<br />
4.6 Flight with the engine removed from the aircraft.................................. 4.29<br />
Issued: July 2005 EASA app. 4.1<br />
Flight manual <strong>DG</strong>-<strong>1000T</strong><br />
4.1 Introduction<br />
This section provides checklist and amplification procedures for the conduct of<br />
normal operation. Normal procedures associated with optional systems can be<br />
found in section 9.<br />
4.2 Rigging and derigging, filling the watertanks<br />
4.2.1 Rigging<br />
1. Open the rear canopy.<br />
2. Clean and lube the pins, bushings and the control connections.<br />
3. Rigging the inboard wing panels<br />
All controls hook-up automatically. Therefore set the airbrake handle to the<br />
forward stop.<br />
Ailerons should be held neutral for rigging, airbrakes must be locked.<br />
Screw one of the rear wing securing pins on the tool W 38/2.<br />
Close both canopies. Push the right wing panel into place. Insert the rear<br />
securing pin with the tool at the rear attachment fitting. Push in the tool so<br />
far that the upper surface of the brass part of the tool is flush with the wing<br />
surface. Screw off the tool. Check if the locking device for the securing pin<br />
has engaged.<br />
Note: If the wing refuses to slip close to the fuselage, you may try to insert<br />
the rigging pin W58 instead of the locking pin and try to move the wing<br />
towards the fuselage with help of the conical shape of this pin.<br />
Screw the other securing pin onto the tool.<br />
Open the rear canopy. Push in the left wing. Mount and check the left<br />
securing pin by the same method as the right side.<br />
Push the two main pins in as far as possible.<br />
Turn the handles up to the fuselage wall, while pulling out the white<br />
securing knob, then release the knob back to its locked position.<br />
Issued: July 2005 EASA app. 4.2


