BRS-6 General Installation Guide - CAFE Foundation
BRS-6 General Installation Guide - CAFE Foundation
BRS-6 General Installation Guide - CAFE Foundation

Create successful ePaper yourself
Turn your PDF publications into a flip-book with our unique Google optimized e-Paper software.
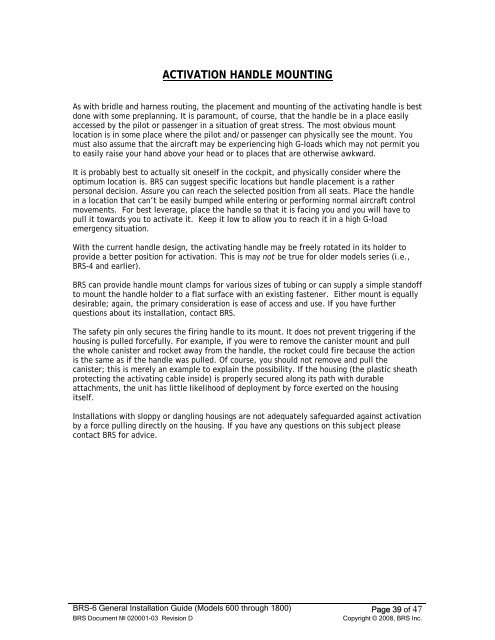
ACTIVATION HANDLE MOUNTING<br />
As with bridle and harness routing, the placement and mounting of the activating handle is best<br />
done with some preplanning. It is paramount, of course, that the handle be in a place easily<br />
accessed by the pilot or passenger in a situation of great stress. The most obvious mount<br />
location is in some place where the pilot and/or passenger can physically see the mount. You<br />
must also assume that the aircraft may be experiencing high G-loads which may not permit you<br />
to easily raise your hand above your head or to places that are otherwise awkward.<br />
It is probably best to actually sit oneself in the cockpit, and physically consider where the<br />
optimum location is. <strong>BRS</strong> can suggest specific locations but handle placement is a rather<br />
personal decision. Assure you can reach the selected position from all seats. Place the handle<br />
in a location that can’t be easily bumped while entering or performing normal aircraft control<br />
movements. For best leverage, place the handle so that it is facing you and you will have to<br />
pull it towards you to activate it. Keep it low to allow you to reach it in a high G-load<br />
emergency situation.<br />
With the current handle design, the activating handle may be freely rotated in its holder to<br />
provide a better position for activation. This is may not be true for older models series (i.e.,<br />
<strong>BRS</strong>-4 and earlier).<br />
<strong>BRS</strong> can provide handle mount clamps for various sizes of tubing or can supply a simple standoff<br />
to mount the handle holder to a flat surface with an existing fastener. Either mount is equally<br />
desirable; again, the primary consideration is ease of access and use. If you have further<br />
questions about its installation, contact <strong>BRS</strong>.<br />
The safety pin only secures the firing handle to its mount. It does not prevent triggering if the<br />
housing is pulled forcefully. For example, if you were to remove the canister mount and pull<br />
the whole canister and rocket away from the handle, the rocket could fire because the action<br />
is the same as if the handle was pulled. Of course, you should not remove and pull the<br />
canister; this is merely an example to explain the possibility. If the housing (the plastic sheath<br />
protecting the activating cable inside) is properly secured along its path with durable<br />
attachments, the unit has little likelihood of deployment by force exerted on the housing<br />
itself.<br />
<strong>Installation</strong>s with sloppy or dangling housings are not adequately safeguarded against activation<br />
by a force pulling directly on the housing. If you have any questions on this subject please<br />
contact <strong>BRS</strong> for advice.<br />
<strong>BRS</strong>-6 <strong>General</strong> <strong>Installation</strong> <strong>Guide</strong> (Models 600 through 1800) Page 39 of 47<br />
<strong>BRS</strong> Document № 020001-03 Revision D Copyright © 2008, <strong>BRS</strong> Inc.