Curriculum (PDF) - Biovision
Curriculum (PDF) - Biovision
Curriculum (PDF) - Biovision

You also want an ePaper? Increase the reach of your titles
YUMPU automatically turns print PDFs into web optimized ePapers that Google loves.
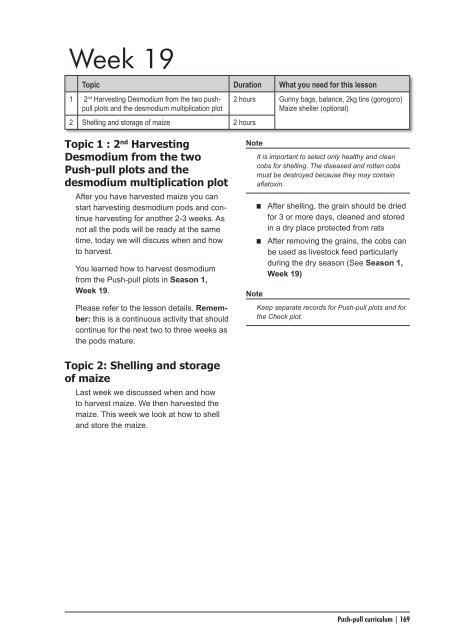
Week 19<br />
Topic Duration What you need for this lesson<br />
1 2 nd Harvesting Desmodium from the two pushpull<br />
plots and the desmodium multiplication plot<br />
2 Shelling and storage of maize 2 hours<br />
Topic 1 : 2 nd Harvesting<br />
Desmodium from the two<br />
Push-pull plots and the<br />
desmodium multiplication plot<br />
After you have harvested maize you can<br />
start harvesting desmodium pods and continue<br />
harvesting for another 2-3 weeks. As<br />
not all the pods will be ready at the same<br />
time, today we will discuss when and how<br />
to harvest.<br />
You learned how to harvest desmodium<br />
from the Push-pull plots in Season 1,<br />
Week 19.<br />
Please refer to the lesson details. Remember:<br />
this is a continuous activity that should<br />
continue for the next two to three weeks as<br />
the pods mature.<br />
Topic 2: Shelling and storage<br />
of maize<br />
Last week we discussed when and how<br />
to harvest maize. We then harvested the<br />
maize. This week we look at how to shell<br />
and store the maize.<br />
2 hours Gunny bags, balance, 2kg tins (gorogoro)<br />
Maize sheller (optional)<br />
Note<br />
Note<br />
It is important to select only healthy and clean<br />
cobs for shelling. The diseased and rotten cobs<br />
must be destroyed because they may contain<br />
aflatoxin.<br />
After shelling, the grain should be dried<br />
for 3 or more days, cleaned and stored<br />
in a dry place protected from rats<br />
After removing the grains, the cobs can<br />
be used as livestock feed particularly<br />
during the dry season (See Season 1,<br />
Week 19)<br />
Keep separate records for Push-pull plots and for<br />
the Check plot.<br />
Push-pull curriculum | 169