Robbe Cardinal.pdf - RCtube.eu
Robbe Cardinal.pdf - RCtube.eu
Robbe Cardinal.pdf - RCtube.eu

You also want an ePaper? Increase the reach of your titles
YUMPU automatically turns print PDFs into web optimized ePapers that Google loves.
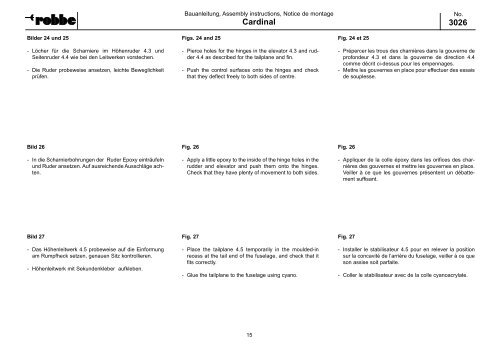
Bilder 24 und 25<br />
- Löcher für die Scharniere im Höhenruder 4.3 und<br />
Seitenruder 4.4 wie bei den Leitwerken vorstechen.<br />
- Die Ruder probeweise ansetzen, leichte Beweglichkeit<br />
prüfen.<br />
Bild 26<br />
- In die Scharnierbohrungen der Ruder Epoxy einträufeln<br />
und Ruder ansetzen. Auf ausreichende Ausschläge achten.<br />
Bild 27<br />
- Das Höhenleitwerk 4.5 probeweise auf die Einformung<br />
am Rumpfheck setzen, genauen Sitz kontrollieren.<br />
- Höhenleitwerk mit Sekundenkleber aufkleben.<br />
Bauanleitung, Assembly instructions, Notice de montage<br />
<strong>Cardinal</strong><br />
Figs. 24 and 25<br />
- Pierce holes for the hinges in the elevator 4.3 and rudder<br />
4.4 as described for the tailplane and fin.<br />
- Push the control surfaces onto the hinges and check<br />
that they deflect freely to both sides of centre.<br />
Fig. 26<br />
- Apply a little epoxy to the inside of the hinge holes in the<br />
rudder and elevator and push them onto the hinges.<br />
Check that they have plenty of movement to both sides.<br />
Fig. 27<br />
- Place the tailplane 4.5 temporarily in the moulded-in<br />
recess at the tail end of the fuselage, and check that it<br />
fits correctly.<br />
- Glue the tailplane to the fuselage using cyano.<br />
15<br />
Fig. 24 et 25<br />
No.<br />
3026<br />
- Prépercer les trous des charnières dans la gouverne de<br />
profond<strong>eu</strong>r 4.3 et dans la gouverne de direction 4.4<br />
comme décrit ci-dessus pour les empennages.<br />
- Mettre les gouvernes en place pour effectuer des essais<br />
de souplesse.<br />
Fig. 26<br />
- Appliquer de la colle époxy dans les orifices des charnières<br />
des gouvernes et mettre les gouvernes en place.<br />
Veiller à ce que les gouvernes présentent un débattement<br />
suffisant.<br />
Fig. 27<br />
- Installer le stabilisat<strong>eu</strong>r 4.5 pour en relever la position<br />
sur la concavité de l’arrière du fuselage, veiller à ce que<br />
son assise soit parfaite.<br />
- Coller le stabilisat<strong>eu</strong>r avec de la colle cyanoacrylate.