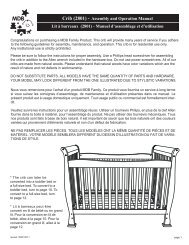
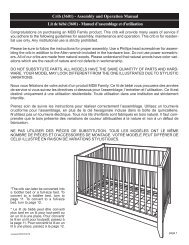
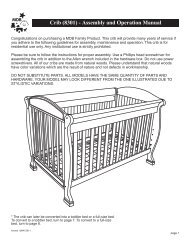
Crib (5101) - Assembly and Operation Manual Lit à ... - DaVinci Baby
Crib (5101) - Assembly and Operation Manual Lit à ... - DaVinci Baby
Crib (5101) - Assembly and Operation Manual Lit à ... - DaVinci Baby

Create successful ePaper yourself
Turn your PDF publications into a flip-book with our unique Google optimized e-Paper software.
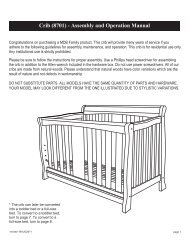
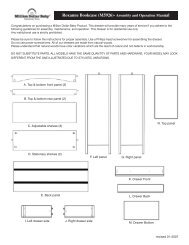
STEP 1.GAHSlide the left (G) <strong>and</strong> right (H) rear corners onto thedrawer back (A). Secure with Phillips head screws (L).FLGESTEP 4.CBJBPosition the drawer front (B) over the sides <strong>and</strong> bottom<strong>and</strong> fasten with Phillips head screws (L).Étape 4Positionner le devant du tiroir (B) au dessus des côtéset du bas et attacher avec vis de tête Phillips de 7/8" (L).STEP 5.Attach the center support (D) between the drawer front<strong>and</strong> back using the Phillips head screws (K).Étape 5Attacher le support central (D) entre le devant et le dosdu tiroir avec des vis de tête Phillips de 1" (K)STEP 6.Screw the casters (P) into the threaded inserts in thebottom of each corner. Tighten them securely with thecaster wrench (N).Étape 6Visser les roulettes (P) aux creux filetés au bas dechaque coin. Serrer les solidement avec la Clé a fourche.AEHFSlide the left (E) <strong>and</strong> right (F) front corners onto thedrawer front (B). Secure with Phillips head screws (L).Étape 1Faire glisser le coin a l’arrière gauche (G) et le coin àl’arrière droit (H) dans le dos du tiroir (A). Sécuriser avecdes vis de tête Phillips de 7/8" (L).Glisser le coin a l’avant gauche (E) et le coin à l’avantdroit (F) dans le devant du tiroir (B). Sécuriser avec desvis de tête Phillips de 7/8" (L).STEP 2.Slide the drawer sides (C) into the grooves in the rearcorner pieces <strong>and</strong> fasten them with Phillips headscrews (L).Étape 2Faire glisser les côtés du tiroir (C) dans les rainuresdes arrières coins et attacher avec vis de tête Phillipsde 7/8" (L).STEP 3.Slide the drawer bottom (J) into the grooves in thesides <strong>and</strong> back.Étape 3Faire glisser le bas du tiroir (J) dans les rainures descôtés et du dos.KDKpage 13