

Samsung S830 (EC-S830ZBBA/FI ) - Manuel de l'utilisateur 7.06 MB, pdf, Anglais
Samsung S830 (EC-S830ZBBA/FI ) - Manuel de l'utilisateur 7.06 MB, pdf, Anglais
Samsung S830 (EC-S830ZBBA/FI ) - Manuel de l'utilisateur 7.06 MB, pdf, Anglais

Create successful ePaper yourself
Turn your PDF publications into a flip-book with our unique Google optimized e-Paper software.
+ / - button<br />
ISO : You can select the ISO sensitivity when taking pictures.<br />
The speed or specific light-sensitivity of a camera is rated by ISO numbers.<br />
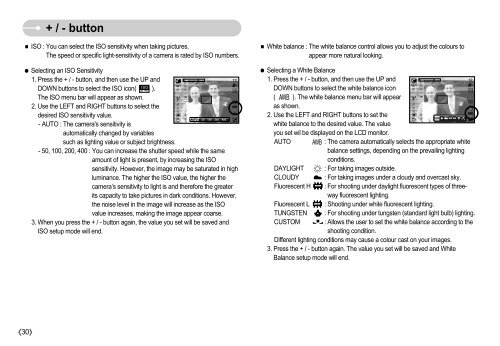
Selecting an ISO Sensitivity<br />
1. Press the + / - button, and then use the UP and<br />
DOWN buttons to select the ISO icon( ).<br />
The ISO menu bar will appear as shown.<br />
2. Use the LEFT and RIGHT buttons to select the<br />
<strong>de</strong>sired ISO sensitivity value.<br />
- AUTO : The camera's sensitivity is<br />
automatically changed by variables<br />
such as lighting value or subject brightness.<br />
- 50, 100, 200, 400 : You can increase the shutter speed while the same<br />
amount of light is present, by increasing the ISO<br />
sensitivity. However, the image may be saturated in high<br />
luminance. The higher the ISO value, the higher the<br />
camera’s sensitivity to light is and therefore the greater<br />
its capacity to take pictures in dark conditions. However,<br />
the noise level in the image will increase as the ISO<br />
value increases, making the image appear coarse.<br />
3. When you press the + / - button again, the value you set will be saved and<br />
ISO setup mo<strong>de</strong> will end.<br />
White balance : The white balance control allows you to adjust the colours to<br />
appear more natural looking.<br />
Selecting a White Balance<br />
1. Press the + / - button, and then use the UP and<br />
DOWN buttons to select the white balance icon<br />
( ). The white balance menu bar will appear<br />
as shown.<br />
2. Use the LEFT and RIGHT buttons to set the<br />
white balance to the <strong>de</strong>sired value. The value<br />
you set wil be displayed on the LCD monitor.<br />
AUTO<br />
: The camera automatically selects the appropriate white<br />
balance settings, <strong>de</strong>pending on the prevailing lighting<br />
conditions.<br />
DAYLIGHT : For taking images outsi<strong>de</strong>.<br />
CLOUDY : For taking images un<strong>de</strong>r a cloudy and overcast sky.<br />
Fluorescent H : For shooting un<strong>de</strong>r daylight fluorescent types of threeway<br />
fluorescent lighting.<br />
Fluorescent L : Shooting un<strong>de</strong>r white fluorescent lighting.<br />
TUNGSTEN : For shooting un<strong>de</strong>r tungsten (standard light bulb) lighting.<br />
CUSTOM : Allows the user to set the white balance according to the<br />
shooting condition.<br />
Different lighting conditions may cause a colour cast on your images.<br />
3. Press the + / - button again. The value you set will be saved and White<br />
Balance setup mo<strong>de</strong> will end.<br />
30


