Bedienungsanleitung Seite 3 Instrucciones de uso Página 29 Mode ...
Bedienungsanleitung Seite 3 Instrucciones de uso Página 29 Mode ...
Bedienungsanleitung Seite 3 Instrucciones de uso Página 29 Mode ...

Create successful ePaper yourself
Turn your PDF publications into a flip-book with our unique Google optimized e-Paper software.
5. Adjusting the Pistol to its User<br />
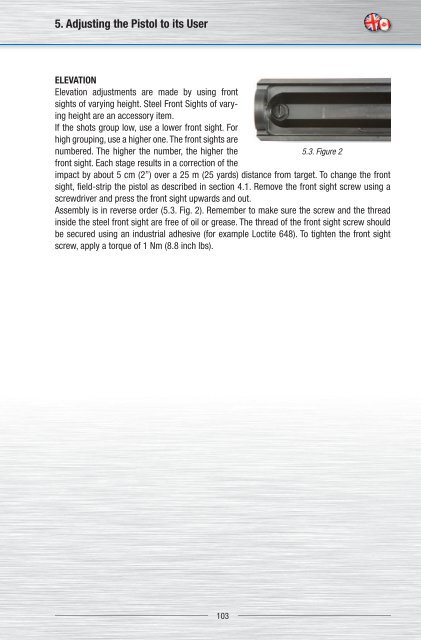
ELEVATION<br />
Elevation adjustments are ma<strong>de</strong> by using front<br />
sights of varying height. Steel Front Sights of varying<br />
height are an accessory item.<br />
If the shots group low, use a lower front sight. For<br />
high grouping, use a higher one. The front sights are<br />
numbered. The higher the number, the higher the<br />
5.3. Figure 2<br />
front sight. Each stage results in a correction of the<br />
impact by about 5 cm (2”) over a 25 m (25 yards) distance from target. To change the front<br />
sight, field-strip the pistol as <strong>de</strong>scribed in section 4.1. Remove the front sight screw using a<br />
screwdriver and press the front sight upwards and out.<br />
Assembly is in reverse or<strong>de</strong>r (5.3. Fig. 2). Remember to make sure the screw and the thread<br />
insi<strong>de</strong> the steel front sight are free of oil or grease. The thread of the front sight screw should<br />
be secured using an industrial adhesive (for example Loctite 648). To tighten the front sight<br />
screw, apply a torque of 1 Nm (8.8 inch lbs).<br />
103