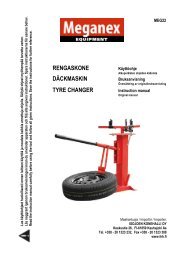
xtp110 lumilinko snöslunga snow thrower - Virtasenkauppa.fi
xtp110 lumilinko snöslunga snow thrower - Virtasenkauppa.fi
xtp110 lumilinko snöslunga snow thrower - Virtasenkauppa.fi
- No tags were found...

Create successful ePaper yourself
Turn your PDF publications into a flip-book with our unique Google optimized e-Paper software.
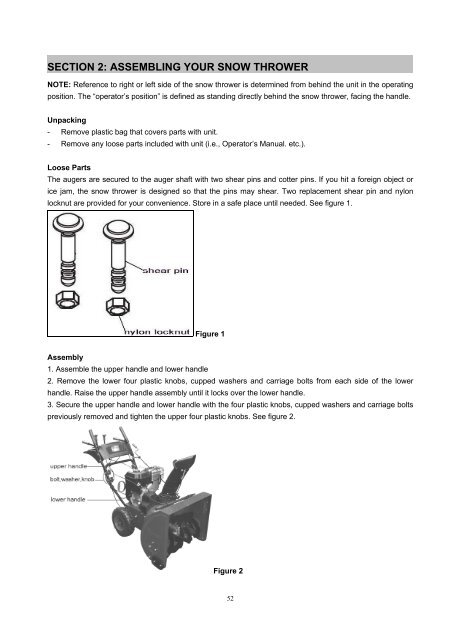
SECTION 2: ASSEMBLING YOUR SNOW THROWERNOTE: Reference to right or left side of the <strong>snow</strong> <strong>thrower</strong> is determined from behind the unit in the operatingposition. The “operator’s position” is de<strong>fi</strong>ned as standing directly behind the <strong>snow</strong> <strong>thrower</strong>, facing the handle.Unpacking- Remove plastic bag that covers parts with unit.- Remove any loose parts included with unit (i.e., Operator’s Manual. etc.).Loose PartsThe augers are secured to the auger shaft with two shear pins and cotter pins. If you hit a foreign object orice jam, the <strong>snow</strong> <strong>thrower</strong> is designed so that the pins may shear. Two replacement shear pin and nylonlocknut are provided for your convenience. Store in a safe place until needed. See <strong>fi</strong>gure 1.Figure 1Assembly1. Assemble the upper handle and lower handle2. Remove the lower four plastic knobs, cupped washers and carriage bolts from each side of the lowerhandle. Raise the upper handle assembly until it locks over the lower handle.3. Secure the upper handle and lower handle with the four plastic knobs, cupped washers and carriage boltspreviously removed and tighten the upper four plastic knobs. See <strong>fi</strong>gure 2.Figure 252