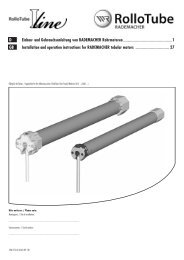
EN Installation and operation instructions for RADEMACHER X-line ...
EN Installation and operation instructions for RADEMACHER X-line ...
EN Installation and operation instructions for RADEMACHER X-line ...

Sie wollen auch ein ePaper? Erhöhen Sie die Reichweite Ihrer Titel.
YUMPU macht aus Druck-PDFs automatisch weboptimierte ePaper, die Google liebt.
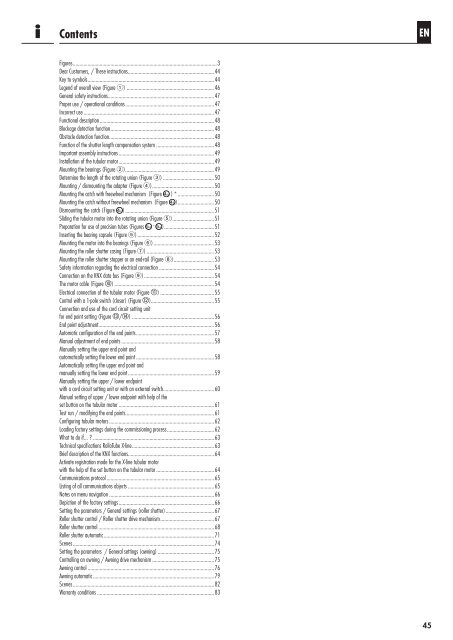
i Contents<br />
Figures ...........................................................................................................3<br />
Dear Customers, / These <strong>instructions</strong>... .............................................................44<br />
Key to symbols ..............................................................................................44<br />
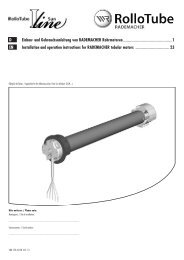
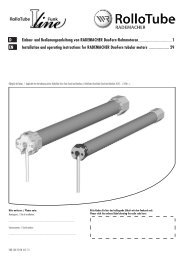
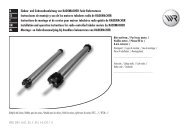
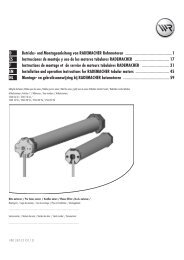
Legend of overall view (Figure ) .................................................................46<br />
General safety <strong>instructions</strong>...............................................................................47<br />
Proper use / <strong>operation</strong>al conditions ..................................................................47<br />
Incorrect use .................................................................................................47<br />
Functional description .....................................................................................48<br />
Blockage detection function .............................................................................48<br />
Obstacle detection function ..............................................................................48<br />
Function of the shutter length compensation system ...........................................48<br />
Important assembly <strong>instructions</strong> .......................................................................49<br />
<strong>Installation</strong> of the tubular motor .......................................................................49<br />
Mounting the bearings (Figure ) ..................................................................49<br />
Determine the length of the rotating union (Figure ) ......................................50<br />
Mounting / dismounting the adapter (Figure ) ..............................................50<br />
Mounting the catch with freewheel mechanism (Figure ) * ...........................50<br />
Mounting the catch without freewheel mechanism (Figure ) ...........................50<br />
Dismounting the catch (Figure ) ..................................................................51<br />
Sliding the tubular motor into the rotating union (Figure ) ...............................51<br />
Preparation <strong>for</strong> use of precision tubes (Figures - ) .....................................51<br />
Inserting the bearing capsule (Figure ) .........................................................52<br />
Mounting the motor into the bearings (Figure ) .............................................53<br />
Mounting the roller shutter casing (Figure ) ..................................................53<br />
Mounting the roller shutter stopper or an end-rail (Figure ) ..............................53<br />
Safety in<strong>for</strong>mation regarding the electrical connection .........................................54<br />
Connection on the KNX data bus (Figure 9) ....................................................54<br />
The motor cable (Figure j) ..........................................................................54<br />
Electrical connection of the tubular motor (Figure k) ........................................55<br />
Control with a 1-pole switch (closer) (Figure l)...............................................55<br />
Connection <strong>and</strong> use of the cord circuit setting unit<br />
<strong>for</strong> end point setting (Figure m/n) .............................................................56<br />
End point adjustment......................................................................................56<br />
Automatic configuration of the end points ..........................................................57<br />
Manual adjustment of end points .....................................................................58<br />
Manually setting the upper end point <strong>and</strong><br />
automatically setting the lower end point ..........................................................58<br />
Automatically setting the upper end point <strong>and</strong><br />
manually setting the lower end point ................................................................59<br />
Manually setting the upper / lower endpoint<br />
with a cord circuit setting unit or with an external switch......................................60<br />
Manual setting of upper / lower endpoint with help of the<br />
set button on the tubular motor .......................................................................61<br />
Test run / modifying the end points..................................................................61<br />
Configuring tubular motors ..............................................................................62<br />
Loading factory settings during the commissioning process ...................................62<br />
What to do if... ? ..........................................................................................63<br />
Technical specifications RolloTube X-<strong>line</strong> .............................................................63<br />
Brief description of the KNX functions ................................................................64<br />
Activate registration mode <strong>for</strong> the X-<strong>line</strong> tubular motor<br />
with the help of the set button on the tubular motor ...........................................64<br />
Communications protocol ................................................................................65<br />
Listing of all communications objects ................................................................65<br />
Notes on menu navigation ..............................................................................66<br />
Depiction of the factory settings .......................................................................66<br />
Setting the parameters / General settings (roller shutter) ....................................67<br />
Roller shutter control / Roller shutter drive mechanism ........................................67<br />
Roller shutter control ......................................................................................68<br />
Roller shutter automatic ..................................................................................71<br />
Scenes .........................................................................................................74<br />
Setting the parameters / General settings (awning) ..........................................75<br />
Controlling an awning / Awning drive mechanism ..............................................75<br />
Awning control ..............................................................................................76<br />
Awning automatic ..........................................................................................79<br />
Scenes .........................................................................................................82<br />
Warranty conditions .......................................................................................83<br />
<strong>EN</strong><br />
45