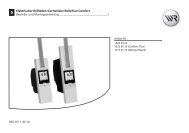
EN Installation and operation instructions for RADEMACHER X-line ...
EN Installation and operation instructions for RADEMACHER X-line ...
EN Installation and operation instructions for RADEMACHER X-line ...

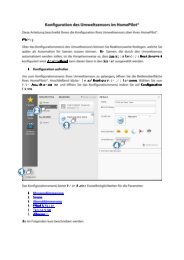
Erfolgreiche ePaper selbst erstellen
Machen Sie aus Ihren PDF Publikationen ein blätterbares Flipbook mit unserer einzigartigen Google optimierten e-Paper Software.
STOP<br />
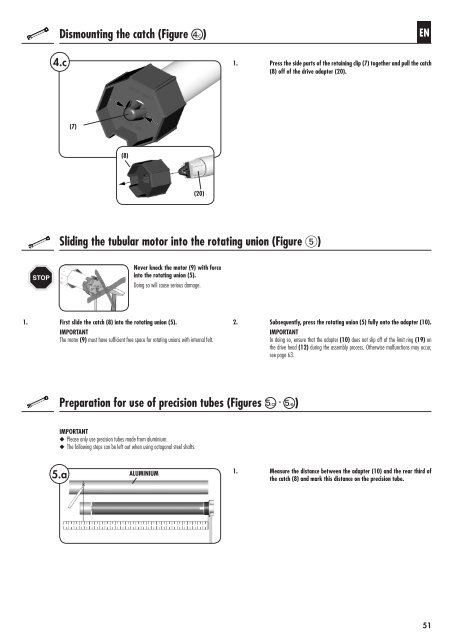
Dismounting the catch (Figure )<br />
4.c<br />
5.a<br />
(7)<br />
(8)<br />
Sliding the tubular motor into the rotating union (Figure )<br />
1. First slide the catch (8) into the rotating union (5).<br />
IMPORTANT<br />
The motor (9) must have sufficient free space <strong>for</strong> rotating unions with internal felt.<br />
2.<br />
ALUMINIUM<br />
(20)<br />
Never knock the motor (9) with <strong>for</strong>ce<br />
into the rotating union (5).<br />
Doing so will cause serious damage.<br />
Preparation <strong>for</strong> use of precision tubes (Figures - )<br />
IMPORTANT<br />
◆ Please only use precision tubes made from aluminium.<br />
◆ The following steps can be left out when using octagonal steel shafts.<br />
1.<br />
1.<br />
<strong>EN</strong><br />
Press the side parts of the retaining clip (7) together <strong>and</strong> pull the catch<br />
(8) off of the drive adapter (20).<br />
Subsequently, press the rotating union (5) fully onto the adapter (10).<br />
IMPORTANT<br />
In doing so, ensure that the adapter (10) does not slip off of the limit ring (19) on<br />
the drive head (12) during the assembly process. Otherwise malfunctions may occur,<br />
see page 63.<br />
Measure the distance between the adapter (10) <strong>and</strong> the rear third of<br />
the catch (8) <strong>and</strong> mark this distance on the precision tube.<br />
51