DSR 5600 COV.qxd - Elektroda
DSR 5600 COV.qxd - Elektroda
DSR 5600 COV.qxd - Elektroda
Sie wollen auch ein ePaper? Erhöhen Sie die Reichweite Ihrer Titel.
YUMPU macht aus Druck-PDFs automatisch weboptimierte ePaper, die Google liebt.
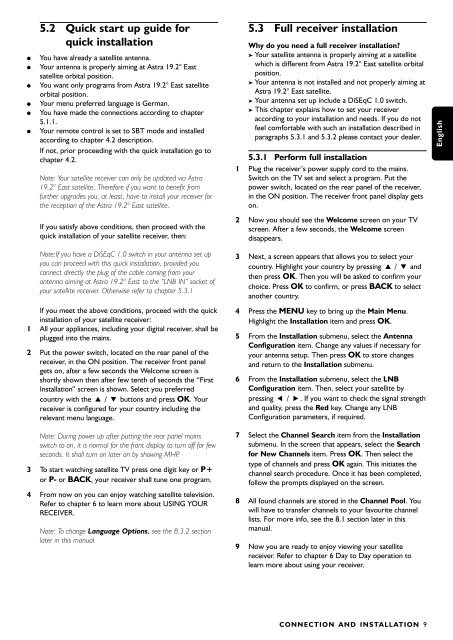
5.2 Quick start up guide for<br />
quick installation<br />
● You have already a satellite antenna.<br />
● Your antenna is properly aiming at Astra 19.2° East<br />
satellite orbital position.<br />
● You want only programs from Astra 19.2° East satellite<br />
orbital position.<br />
● Your menu preferred language is German.<br />
● You have made the connections according to chapter<br />
5.1.1.<br />
● Your remote control is set to SBT mode and installed<br />
according to chapter 4.2 description.<br />
If not, prior proceeding with the quick installation go to<br />
chapter 4.2.<br />
Note: Your satellite receiver can only be updated via Astra<br />
19.2° East satellite. Therefore if you want to benefit from<br />
further upgrades you, at least, have to install your receiver for<br />
the reception of the Astra 19.2° East satellite.<br />
If you satisfy above conditions, then proceed with the<br />
quick installation of your satellite receiver, then:<br />
Note:If you have a DiSEqC 1.0 switch in your antenna set up<br />
you can proceed with this quick installation, provided you<br />
connect directly the plug of the cable coming from your<br />
antenna aiming at Astra 19.2° East to the “LNB IN” socket of<br />
your satellite receiver. Otherwise refer to chapter 5.3.1<br />
If you meet the above conditions, proceed with the quick<br />
installation of your satellite receiver:<br />
1 All your appliances, including your digital receiver, shall be<br />
plugged into the mains.<br />
2 Put the power switch, located on the rear panel of the<br />
receiver, in the ON position. The receiver front panel<br />
gets on, after a few seconds the Welcome screen is<br />
shortly shown then after few tenth of seconds the “First<br />
Installation” screen is shown. Select you preferred<br />
country with the V / W buttons and press OK. Your<br />
receiver is configured for your country including the<br />
relevant menu language.<br />
Note: During power up after putting the rear panel mains<br />
switch to on, it is normal for the front display to turn off for few<br />
seconds. It shall turn on later on by showing MHP.<br />
3 To start watching satellite TV press one digit key or P+<br />
or P- or BACK, your receiver shall tune one program.<br />
4 From now on you can enjoy watching satellite television.<br />
Refer to chapter 6 to learn more about USING YOUR<br />
RECEIVER.<br />
Note: To change Language Options, see the 8.3.2 section<br />
later in this manual.<br />
5.3 Full receiver installation<br />
Why do you need a full receiver installation?<br />
➤ Your satellite antenna is properly aiming at a satellite<br />
which is different from Astra 19.2° East satellite orbital<br />
position.<br />
➤ Your antenna is not installed and not properly aiming at<br />
Astra 19.2° East satellite.<br />
➤ Your antenna set up include a DiSEqC 1.0 switch.<br />
➤ This chapter explains how to set your receiver<br />
according to your installation and needs. If you do not<br />
feel comfortable with such an installation described in<br />
paragraphs 5.3.1 and 5.3.2 please contact your dealer.<br />
5.3.1 Perform full installation<br />
1 Plug the receiver’s power supply cord to the mains.<br />
Switch on the TV set and select a program. Put the<br />
power switch, located on the rear panel of the receiver,<br />
in the ON position. The receiver front panel display gets<br />
on.<br />
2 Now you should see the Welcome screen on your TV<br />
screen. After a few seconds, the Welcome screen<br />
disappears.<br />
3 Next, a screen appears that allows you to select your<br />
country. Highlight your country by pressing V / W and<br />
then press OK. Then you will be asked to confirm your<br />
choice. Press OK to confirm, or press BACK to select<br />
another country.<br />
4 Press the MENU key to bring up the Main Menu.<br />
Highlight the Installation item and press OK.<br />
5 From the Installation submenu, select the Antenna<br />
Configuration item. Change any values if necessary for<br />
your antenna setup. Then press OK to store changes<br />
and return to the Installation submenu.<br />
6 From the Installation submenu, select the LNB<br />
Configuration item. Then, select your satellite by<br />
pressing C / B. If you want to check the signal strength<br />
and quality, press the Red key. Change any LNB<br />
Configuration parameters, if required.<br />
7 Select the Channel Search item from the Installation<br />
submenu. In the screen that appears, select the Search<br />
for New Channels item. Press OK. Then select the<br />
type of channels and press OK again. This initiates the<br />
channel search procedure. Once it has been completed,<br />
follow the prompts displayed on the screen.<br />
8 All found channels are stored in the Channel Pool. You<br />
will have to transfer channels to your favourite channel<br />
lists. For more info, see the 8.1 section later in this<br />
manual.<br />
9 Now you are ready to enjoy viewing your satellite<br />
receiver. Refer to chapter 6 Day to Day operation to<br />
learn more about using your receiver.<br />
CONNECTION AND INSTALLATION 9<br />
English





![03_[DE] - Philips](https://img.yumpu.com/25100096/1/184x260/03-de-philips.jpg?quality=85)
