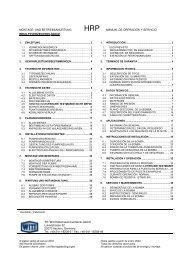
Hochdruckschwimmer- Regler Montage- und ... - KomMa
Hochdruckschwimmer- Regler Montage- und ... - KomMa
Hochdruckschwimmer- Regler Montage- und ... - KomMa

Erfolgreiche ePaper selbst erstellen
Machen Sie aus Ihren PDF Publikationen ein blätterbares Flipbook mit unserer einzigartigen Google optimierten e-Paper Software.
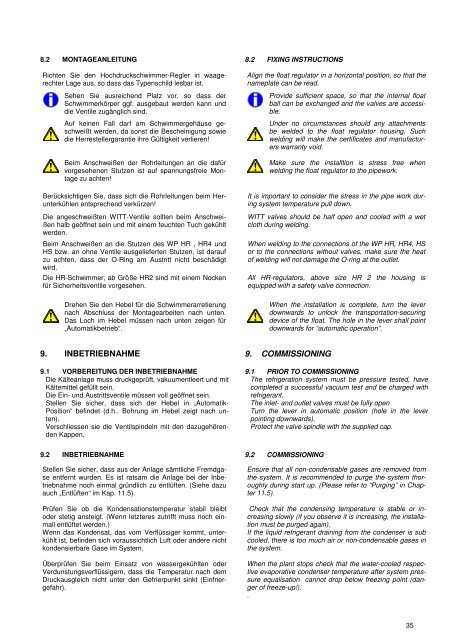
8.2 MONTAGEANLEITUNG 8.2 FIXING INSTRUCTIONS<br />
Richten Sie den <strong>Hochdruckschwimmer</strong>-<strong>Regler</strong> in waagerechter<br />
Lage aus, so dass das Typenschild lesbar ist.<br />
Sehen Sie ausreichend Platz vor, so dass der<br />
Schwimmerkörper ggf. ausgebaut werden kann <strong>und</strong><br />
die Ventile zugänglich sind.<br />
Auf keinen Fall darf am Schwimmergehäuse geschweißt<br />
werden, da sonst die Bescheinigung sowie<br />
die Herrestellergarantie ihre Gültigkeit verlieren!<br />
Beim Anschweißen der Rohrleitungen an die dafür<br />
vorgesehenen Stutzen ist auf spannungsfreie <strong>Montage</strong><br />
zu achten!<br />
Berücksichtigen Sie, dass sich die Rohrleitungen beim Herunterkühlen<br />
entsprechend verkürzen!<br />
Die angeschweißten WITT-Ventile sollten beim Anschweißen<br />
halb geöffnet sein <strong>und</strong> mit einem feuchten Tuch gekühlt<br />
werden.<br />
Beim Anschweißen an die Stutzen des WP HR , HR4 <strong>und</strong><br />
HS bzw. an ohne Ventile ausgelieferten Stutzen, ist darauf<br />
zu achten, dass der O-Ring am Austritt nicht beschädigt<br />
wird.<br />
Die HR-Schwimmer, ab Größe HR2 sind mit einem Nocken<br />
für Sicherheitsventile vorgesehen.<br />
Drehen Sie den Hebel für die Schwimmerarretierung<br />
nach Abschluss der <strong>Montage</strong>arbeiten nach unten.<br />
Das Loch im Hebel müssen nach unten zeigen für<br />
„Automatikbetrieb“.<br />
Align the float regulator in a horizontal position, so that the<br />
nameplate can be read.<br />
Provide sufficient space, so that the internal float<br />
ball can be exchanged and the valves are accessible.<br />
Under no circumstances should any attachments<br />
be welded to the float regulator housing. Such<br />
welding will make the certificates and manufacturers<br />
warranty void.<br />
Make sure the installtion is stress free when<br />
welding the float regulator to the pipework.<br />
It is important to consider the stress in the pipe work during<br />
system temperature pull down.<br />
WITT valves should be half open and cooled with a wet<br />
cloth during welding.<br />
When welding to the connections of the WP HR, HR4, HS<br />
or to the connections without valves, make sure the heat<br />
of welding will not damage the O-ring at the outlet.<br />
All HR-regulators, above size HR 2 the housing is<br />
equipped with a safety valve connection.<br />
When the installation is complete, turn the lever<br />
downwards to unlock the transportation-securing<br />
device of the float. The hole in the lever shall point<br />
downwards for “automatic operation”.<br />
9. INBETRIEBNAHME 9. COMMISSIONING<br />
9.1 VORBEREITUNG DER INBETRIEBNAHME 9.1 PRIOR TO COMMISSIONING<br />
Die Kälteanlage muss druckgeprüft, vakuumentleert <strong>und</strong> mit<br />
Kältemittel gefüllt sein.<br />
Die Ein- <strong>und</strong> Austrittsventile müssen voll geöffnet sein.<br />
Stellen Sie sicher, dass sich der Hebel in „Automatik-<br />
Position“ befindet (d.h.. Bohrung im Hebel zeigt nach unten).<br />
Verschliessen sie die Ventilspindeln mit den dazugehörenden<br />
The refrigeration system must be pressure tested, have<br />
completed a successful vacuum test and be charged with<br />
refrigerant.<br />
The inlet- and outlet valves must be fully open<br />
Turn the lever in automatic position (hole in the lever<br />
pointing downwards).<br />
Protect the valve spindle with the supplied cap.<br />
Kappen.<br />
9.2 INBETRIEBNAHME 9.2 COMMISSIONING<br />
Stellen Sie sicher, dass aus der Anlage sämtliche Fremdgase<br />
entfernt wurden. Es ist ratsam die Anlage bei der Inbetriebnahme<br />
noch einmal gründlich zu entlüften. (Siehe dazu<br />
auch „Entlüften“ im Kap. 11.5).<br />
Prüfen Sie ob die Kondensationstemperatur stabil bleibt<br />
oder stetig ansteigt. (Wenn letzteres zutrifft muss noch einmall<br />
entlüftet werden.)<br />
Wenn das Kondensat, das vom Verflüssiger kommt, unterkühlt<br />
ist, befinden sich voraussichtlich Luft oder andere nicht<br />
kondensierbare Gase im System.<br />
Überprüfen Sie beim Einsatz von wassergekühlten oder<br />
Verdunstungsverflüssigern, dass die Temperatur nach dem<br />
Druckausgleich nicht unter den Gefrierpunkt sinkt (Einfriergefahr).<br />
Ensure that all non-condensable gases are removed from<br />
the system. It is recommended to purge the system thoroughly<br />
during start up. (Please refer to “Purging” in Chapter<br />
11.5).<br />
Check that the condensing temperature is stable or increasing<br />
slowly (if you observe it is increasing, the installation<br />
must be purged again).<br />
If the liquid refrigerant draining from the condenser is sub<br />
cooled, there is too much air or non-condensable gases in<br />
the system.<br />
When the plant stops check that the water-cooled respective<br />
evaporative condenser temperature after system pressure<br />
equalisation cannot drop below freezing point (danger<br />
of freeze-up!).<br />
.<br />
35