SERVICE MANUAL SERIES 320 XR - Precisa
SERVICE MANUAL SERIES 320 XR - Precisa
SERVICE MANUAL SERIES 320 XR - Precisa
- Keine Tags gefunden...
Sie wollen auch ein ePaper? Erhöhen Sie die Reichweite Ihrer Titel.
YUMPU macht aus Druck-PDFs automatisch weboptimierte ePaper, die Google liebt.
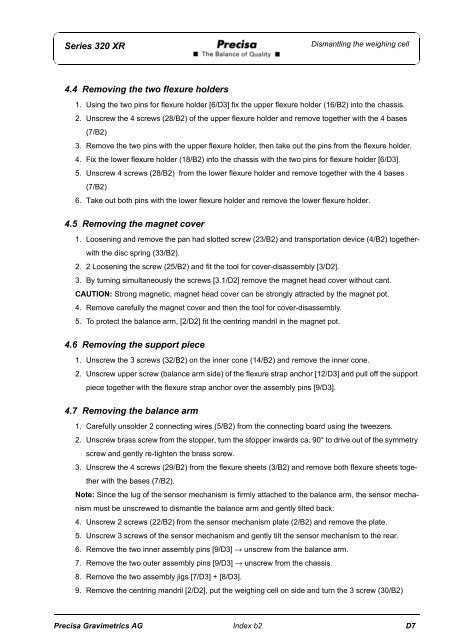
Series <strong>320</strong> <strong>XR</strong>Dismantling the weighing cell4.4 Removing the two flexure holders1. Using the two pins for flexure holder [6/D3] fix the upper flexure holder (16/B2) into the chassis.2. Unscrew the 4 screws (28/B2) of the upper flexure holder and remove together with the 4 bases(7/B2)3. Remove the two pins with the upper flexure holder, then take out the pins from the flexure holder.4. Fix the lower flexure holder (18/B2) into the chassis with the two pins for flexure holder [6/D3].5. Unscrew 4 screws (28/B2) from the lower flexure holder and remove together with the 4 bases(7/B2)6. Take out both pins with the lower flexure holder and remove the lower flexure holder.4.5 Removing the magnet cover1. Loosening and remove the pan had slotted screw (23/B2) and transportation device (4/B2) togetherwiththe disc spring (33/B2).2. 2 Loosening the screw (25/B2) and fit the tool for cover-disassembly [3/D2].3. By turning simultaneously the screws [3.1/D2] remove the magnet head cover without cant.CAUTION: Strong magnetic, magnet head cover can be strongly attracted by the magnet pot.4. Remove carefully the magnet cover and then the tool for cover-disassembly.5. To protect the balance arm, [2/D2] fit the centring mandril in the magnet pot.4.6 Removing the support piece1. Unscrew the 3 screws (32/B2) on the inner cone (14/B2) and remove the inner cone.2. Unscrew upper screw (balance arm side) of the flexure strap anchor [12/D3] and pull off the supportpiece together with the flexure strap anchor over the assembly pins [9/D3].4.7 Removing the balance arm1. Carefully unsolder 2 connecting wires (5/B2) from the connecting board using the tweezers.2. Unscrew brass screw from the stopper, turn the stopper inwards ca. 90° to drive out of the symmetryscrew and gently re-tighten the brass screw.3. Unscrew the 4 screws (29/B2) from the flexure sheets (3/B2) and remove both flexure sheets togetherwith the bases (7/B2).Note: Since the lug of the sensor mechanism is firmly attached to the balance arm, the sensor mechanismmust be unscrewed to dismantle the balance arm and gently tilted back:4. Unscrew 2 screws (22/B2) from the sensor mechanism plate (2/B2) and remove the plate.5. Unscrew 3 screws of the sensor mechanism and gently tilt the sensor mechanism to the rear.6. Remove the two inner assembly pins [9/D3] → unscrew from the balance arm.7. Remove the two outer assembly pins [9/D3] → unscrew from the chassis.8. Remove the two assembly jigs [7/D3] + [8/D3].9. Remove the centring mandril [2/D2], put the weighing cell on side and turn the 3 screw (30/B2)<strong>Precisa</strong> Gravimetrics AG Index b2 D7


