Celcia 20 - Remeha
Celcia 20 - Remeha
Celcia 20 - Remeha

Sie wollen auch ein ePaper? Erhöhen Sie die Reichweite Ihrer Titel.
YUMPU macht aus Druck-PDFs automatisch weboptimierte ePaper, die Google liebt.
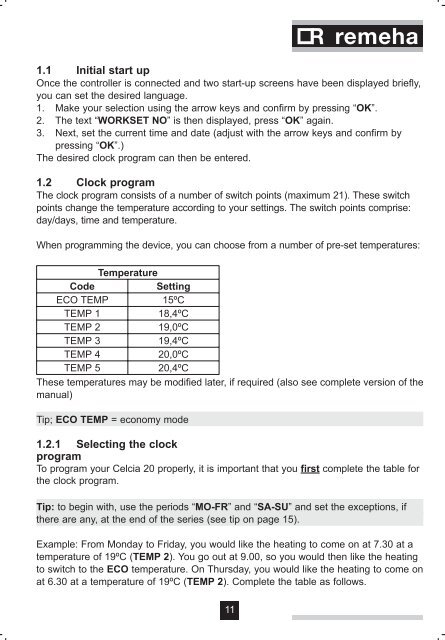
1.1 Initial start upOnce the controller is connected and two start-up screens have been displayed briefly,you can set the desired language.1. Make your selection using the arrow keys and confirm by pressing “OK”.2. The text “WORKSET NO” is then displayed, press “OK” again.3. Next, set the current time and date (adjust with the arrow keys and confirm bypressing “OK”.)The desired clock program can then be entered.1.2 Clock programThe clock program consists of a number of switch points (maximum 21). These switchpoints change the temperature according to your settings. The switch points comprise:day/days, time and temperature.When programming the device, you can choose from a number of pre-set temperatures:TemperatureCodeSettingECO TEMP 15ºCTEMP 118,4ºCTEMP 219,0ºCTEMP 319,4ºCTEMP 4<strong>20</strong>,0ºCTEMP 5<strong>20</strong>,4ºCThese temperatures may be modified later, if required (also see complete version of themanual)Tip; ECO TEMP = economy mode1.2.1 Selecting the clockprogramTo program your <strong>Celcia</strong> <strong>20</strong> properly, it is important that you first complete the table forthe clock program.Tip: to begin with, use the periods “MO-FR” and “SA-SU” and set the exceptions, ifthere are any, at the end of the series (see tip on page 15).Example: From Monday to Friday, you would like the heating to come on at 7.30 at atemperature of 19ºC (TEMP 2). You go out at 9.00, so you would then like the heatingto switch to the ECO temperature. On Thursday, you would like the heating to come onat 6.30 at a temperature of 19ºC (TEMP 2). Complete the table as follows.11