MapInfo Spatial Server Web Map Service - Product Documentation ...
MapInfo Spatial Server Web Map Service - Product Documentation ...
MapInfo Spatial Server Web Map Service - Product Documentation ...
You also want an ePaper? Increase the reach of your titles
YUMPU automatically turns print PDFs into web optimized ePapers that Google loves.
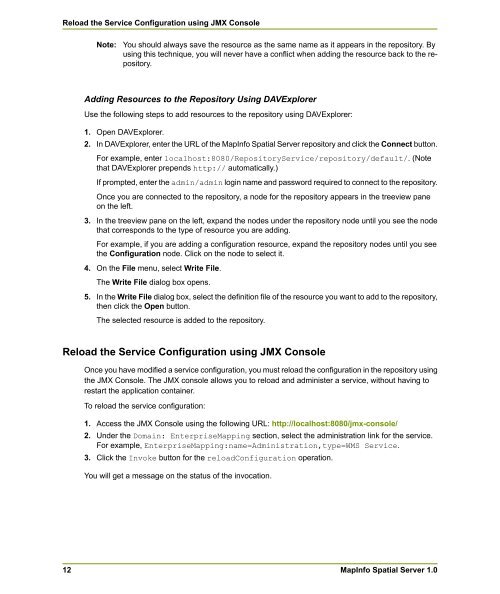
Reload the <strong>Service</strong> Configuration using JMX Console<br />
Note:<br />
You should always save the resource as the same name as it appears in the repository. By<br />
using this technique, you will never have a conflict when adding the resource back to the repository.<br />
Adding Resources to the Repository Using DAVExplorer<br />
Use the following steps to add resources to the repository using DAVExplorer:<br />
1. Open DAVExplorer.<br />
2. In DAVExplorer, enter the URL of the <strong><strong>Map</strong>Info</strong> <strong>Spatial</strong> <strong>Server</strong> repository and click the Connect button.<br />
For example, enter localhost:8080/Repository<strong>Service</strong>/repository/default/. (Note<br />
that DAVExplorer prepends http:// automatically.)<br />
If prompted, enter the admin/admin login name and password required to connect to the repository.<br />
Once you are connected to the repository, a node for the repository appears in the treeview pane<br />
on the left.<br />
3. In the treeview pane on the left, expand the nodes under the repository node until you see the node<br />
that corresponds to the type of resource you are adding.<br />
For example, if you are adding a configuration resource, expand the repository nodes until you see<br />
the Configuration node. Click on the node to select it.<br />
4. On the File menu, select Write File.<br />
The Write File dialog box opens.<br />
5. In the Write File dialog box, select the definition file of the resource you want to add to the repository,<br />
then click the Open button.<br />
The selected resource is added to the repository.<br />
Reload the <strong>Service</strong> Configuration using JMX Console<br />
12<br />
Once you have modified a service configuration, you must reload the configuration in the repository using<br />
the JMX Console. The JMX console allows you to reload and administer a service, without having to<br />
restart the application container.<br />
To reload the service configuration:<br />
1. Access the JMX Console using the following URL: http://localhost:8080/jmx-console/<br />
2. Under the Domain: Enterprise<strong>Map</strong>ping section, select the administration link for the service.<br />
For example, Enterprise<strong>Map</strong>ping:name=Administration,type=WMS <strong>Service</strong>.<br />
3. Click the Invoke button for the reloadConfiguration operation.<br />
You will get a message on the status of the invocation.<br />
<strong><strong>Map</strong>Info</strong> <strong>Spatial</strong> <strong>Server</strong> 1.0


