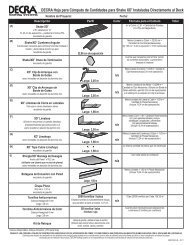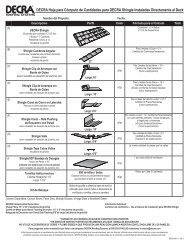
Tile, Shake & Shingle Plus Installation Guide - Decra
Tile, Shake & Shingle Plus Installation Guide - Decra
Tile, Shake & Shingle Plus Installation Guide - Decra

You also want an ePaper? Increase the reach of your titles
YUMPU automatically turns print PDFs into web optimized ePapers that Google loves.
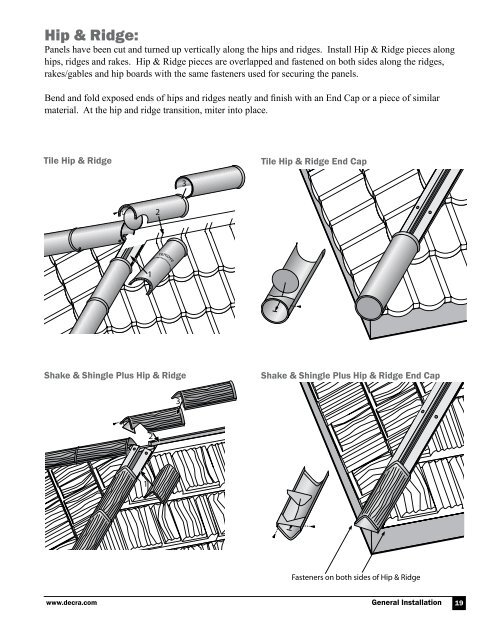
Hip & Ridge:<br />
Panels have been cut and turned up vertically along the hips and ridges. Install Hip & Ridge pieces along<br />
hips, ridges and rakes. Hip & Ridge pieces are overlapped and fastened on both sides along the ridges,<br />
rakes/gables and hip boards with the same fasteners used for securing the panels.<br />
Bend and fold exposed ends of hips and ridges neatly and finish with an End Cap or a piece of similar<br />
material. At the hip and ridge transition, miter into place.<br />
<strong>Tile</strong> Hip & Ridge<br />
<strong>Shake</strong> & <strong>Shingle</strong> <strong>Plus</strong> Hip & Ridge<br />
<strong>Tile</strong> Hip & Ridge End Cap<br />
<strong>Shake</strong> & <strong>Shingle</strong> <strong>Plus</strong> Hip & Ridge End Cap<br />
www.decra.com General <strong>Installation</strong><br />
19