Waterproofing Systems - DR. FIXIT
Waterproofing Systems - DR. FIXIT
Waterproofing Systems - DR. FIXIT

Create successful ePaper yourself
Turn your PDF publications into a flip-book with our unique Google optimized e-Paper software.
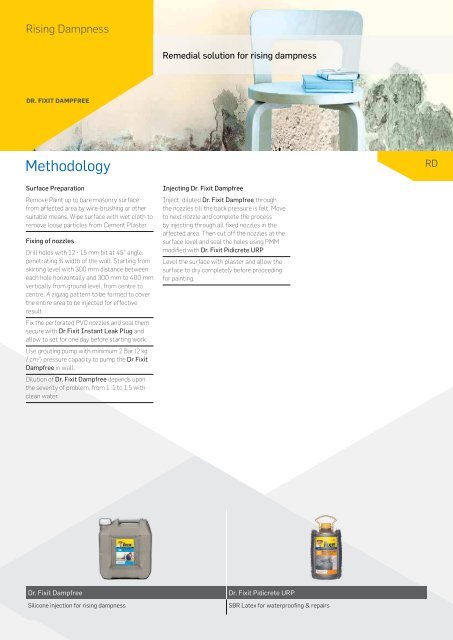
Rising Dampness<br />
Dr. Fixit DamPFree<br />
Methodology<br />
Surface Preparation<br />
Remove Paint up to bare masonry surface<br />
from affected area by wire-brushing or other<br />
suitable means. Wipe surface with wet cloth to<br />
remove loose particles from Cement Plaster.<br />
Fixing of nozzles<br />
Drill holes with 12 - 15 mm bit at 45° angle,<br />
penetrating ¾ width of the wall. Starting from<br />
skirting level with 300 mm distance between<br />
each hole horizontally and 300 mm to 400 mm<br />
vertically from ground level, from centre to<br />
centre. A zigzag pattern to be formed to cover<br />
the entire area to be injected for effective<br />
result.<br />
Fix the perforated PVC nozzles and seal them<br />
secure with Dr Fixit Instant Leak Plug and<br />
allow to set for one day before starting work.<br />
Use grouting pump with minimum 2 Bar (2 kg<br />
/ cm2 ) pressure capacity to pump the Dr Fixit<br />
Dampfree in wall.<br />
Dilution of Dr. Fixit Dampfree depends upon<br />
the severity of problem, from 1 :1 to 1:5 with<br />
clean water.<br />
Remedial solution for rising dampness<br />
Injecting Dr. Fixit Dampfree<br />
Inject diluted Dr. Fixit Dampfree through<br />
the nozzles till the back pressure is felt. Move<br />
to next nozzle and complete the process<br />
by injecting through all fixed nozzles in the<br />
affected area. Then cut off the nozzles at the<br />
surface level and seal the holes using PMM<br />
modified with Dr. Fixit Pidicrete URP.<br />
Level the surface with plaster and allow the<br />
surface to dry completely before proceeding<br />
for painting.<br />
Dr. Fixit Dampfree Dr. Fixit Pidicrete URP<br />
Silicone injection for rising dampness SBR Latex for waterproofing & repairs<br />
RD<br />
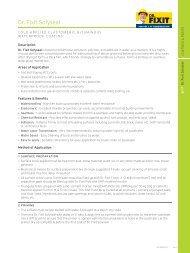
Repair to old roofs with<br />
bituminous treatments<br />
Dr. Fixit SolySeal<br />
Surface Preparation<br />
Surface must be clean and free from dirt, dust,<br />
grease, oil, etc. Remove old paint /damp wall<br />
with blisters/paint peel/loose particles etc. by<br />
wire-brushing or other suitable means up to<br />
bare masonry surface.<br />
Repairs shall be carried out using polymer<br />
modified mortar modified with Dr. Fixit<br />
Pidicrete URP.<br />
Priming<br />
Prime the surface with Dr. Fixit Solyseal<br />
diluting with water in 1:1 ratio evenly and allow<br />
it to dry completely.<br />
Application<br />
Apply first coat of Dr. Fixit Solyseal.<br />
While the first coat is still wet, embed a layer<br />
of fabric mesh reinforcement.<br />
Brush or roll over the embed mesh at right<br />
angles to the 1st layer of Dr. Fixit Solyseal to<br />
ensure that the mesh is fully covered.<br />
Take care that the mesh is overlapped at least<br />
50 mm at edges and by 100 mm at ends.<br />
Dr. Fixit Solyseal Dr. Fixit PU Sealant Dr. Fixit Pidiseal PS 42P Dr. Fixit Pidicrete URP<br />
Polymer modified elastomeric<br />
bituminous coating<br />
Cold applied flexible bitumen system for re-roofing after the<br />
removal of old bituminous treatments.<br />
Apply second coat of Dr. Fixit Solyseal and<br />
allow it to dry completely.<br />
Apply one more coat of Dr. Fixit Solyseal as<br />
top coat and allow it to dry.<br />
Lay 50 mm thick sand cement protection<br />
screed with proper slope for efficient draining<br />
of rain water.<br />
Provide control joints in the screed to avoid<br />
crazing and cracking of the screed. Fill joints<br />
with polysulphide sealant Dr. Fixit Pidiseal PS<br />
42 P or Dr. Fixit PU sealant.<br />
one part non-sag polyurethane<br />
sealant<br />
Two-part Polysulphide Sealant SBR Latex for waterproofing &<br />
repairs<br />
EFR<br />
43