
You also want an ePaper? Increase the reach of your titles
YUMPU automatically turns print PDFs into web optimized ePapers that Google loves.
CALIBRATION PROCEDURE SP4<br />
JULY 1 ST , 2004<br />
IF YOUR TRANSMITTER WAS PURCHASED BEFORE APRIL 1 ST 2004, CONTACT OUR TECHNICAL SUPPORT LINE AT 1-800-563-2967<br />
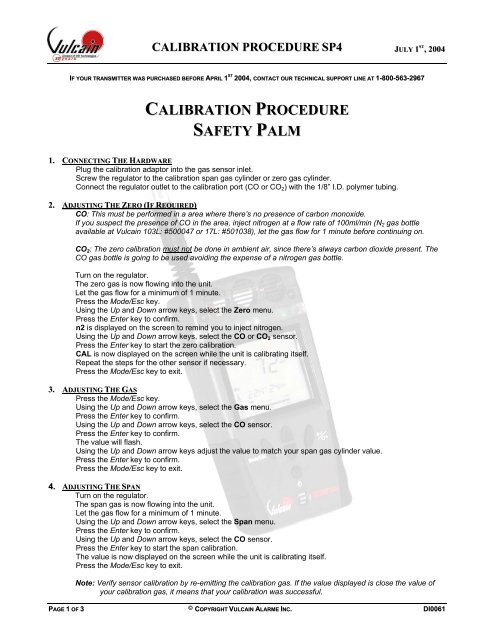
CALIBRATION PROCEDURE<br />
SAFETY PALM<br />
1. CONNECTING THE HARDWARE<br />
Plug the calibration adaptor into the gas sensor inlet.<br />
Screw the regulator to the calibration span gas cylinder or zero gas cylinder.<br />
Connect the regulator outlet to the calibration port (CO or CO2) with the 1/8” I.D. polymer tubing.<br />
2. ADJUSTING THE ZERO (IF REQUIRED)<br />
CO: This must be performed in a area where there’s no presence of carbon monoxide.<br />
If you suspect the presence of CO in the area, inject nitrogen at a flow rate of 100ml/min (N2 gas bottle<br />
available at Vulcain 103L: #500047 or 17L: #501038), let the gas flow for 1 minute before continuing on.<br />
CO2: The zero calibration must not be done in ambient air, since there’s always carbon dioxide present. The<br />
CO gas bottle is going to be used avoiding the expense of a nitrogen gas bottle.<br />
Turn on the regulator.<br />
The zero gas is now flowing into the unit.<br />
Let the gas flow for a minimum of 1 minute.<br />
Press the Mode/Esc key.<br />
Using the Up and Down arrow keys, select the Zero menu.<br />
Press the Enter key to confirm.<br />
n2 is displayed on the screen to remind you to inject nitrogen.<br />
Using the Up and Down arrow keys, select the CO or CO2 sensor.<br />
Press the Enter key to start the zero calibration.<br />
CAL is now displayed on the screen while the unit is calibrating itself.<br />
Repeat the steps for the other sensor if necessary.<br />
Press the Mode/Esc key to exit.<br />
3. ADJUSTING THE GAS<br />
Press the Mode/Esc key.<br />
Using the Up and Down arrow keys, select the Gas menu.<br />
Press the Enter key to confirm.<br />
Using the Up and Down arrow keys, select the CO sensor.<br />
Press the Enter key to confirm.<br />
The value will flash.<br />
Using the Up and Down arrow keys adjust the value to match your span gas cylinder value.<br />
Press the Enter key to confirm.<br />
Press the Mode/Esc key to exit.<br />
4. ADJUSTING THE SPAN<br />
Turn on the regulator.<br />
The span gas is now flowing into the unit.<br />
Let the gas flow for a minimum of 1 minute.<br />
Using the Up and Down arrow keys, select the Span menu.<br />
Press the Enter key to confirm.<br />
Using the Up and Down arrow keys, select the CO sensor.<br />
Press the Enter key to start the span calibration.<br />
The value is now displayed on the screen while the unit is calibrating itself.<br />
Press the Mode/Esc key to exit.<br />
Note: Verify sensor calibration by re-emitting the calibration gas. If the value displayed is close the value of<br />
your calibration gas, it means that your calibration was successful.<br />
PAGE 1 OF 3 © COPYRIGHT VULCAIN ALARME INC. DI0061