REFERENCE GUIDE - Hitachi Kokusai Electric America, Ltd.
REFERENCE GUIDE - Hitachi Kokusai Electric America, Ltd.
REFERENCE GUIDE - Hitachi Kokusai Electric America, Ltd.

You also want an ePaper? Increase the reach of your titles
YUMPU automatically turns print PDFs into web optimized ePapers that Google loves.
Chapter 3: Operating the equipment<br />
If you desire to use an external power supply, you will find a 4-pole XLR 12 VDC input<br />
on the back side of the camera. As When connected to an external power supply the<br />
camera will switch from battery operation to the external power supply.<br />
2.3.3 Intercom headset<br />
Connect the intercom headset to the 5-pole XLR socket on the back side of you camera.<br />
2.3.4 Microphones<br />
The HITACHI Wireless Camera is equipped with two microphone input sockets on the<br />
back side. Connect your external microphones to these 3-pole XLR connectors.<br />
2.3.5 RS 232<br />
For servicing (eg software updates of the control panel) the wireless transmitter unit<br />
of the camera you may need to connect a PC to the RS 232 socket found below the<br />
control panel.<br />
3 Configuring the HITACHI wireless camera digital transmitter<br />
3.1 Control panel<br />
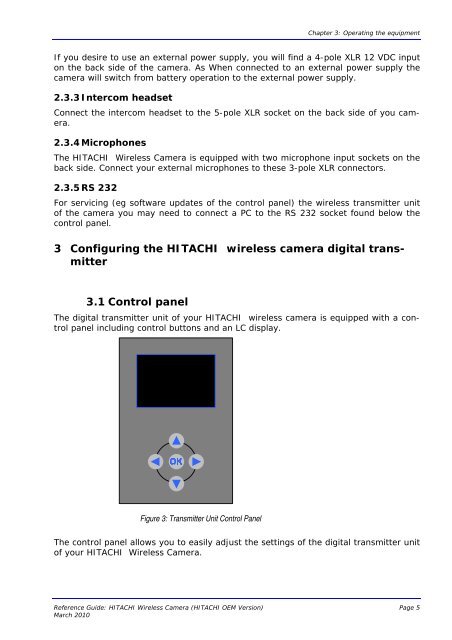
The digital transmitter unit of your HITACHI wireless camera is equipped with a control<br />
panel including control buttons and an LC display.<br />
Figure 3: Transmitter Unit Control Panel<br />
The control panel allows you to easily adjust the settings of the digital transmitter unit<br />
of your HITACHI Wireless Camera.<br />
Reference Guide: HITACHI Wireless Camera (HITACHI OEM Version) Page 5<br />
March 2010