
You also want an ePaper? Increase the reach of your titles
YUMPU automatically turns print PDFs into web optimized ePapers that Google loves.
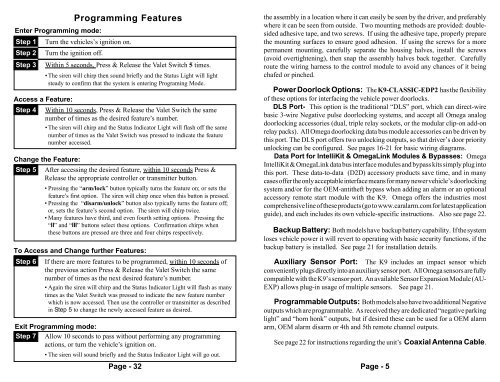
Enter Programming mode:<br />
Step 1<br />
Step 2<br />
Step 3<br />
Change the Feature:<br />
Step 5<br />
Step 6<br />
Turn the ignition off.<br />
Programming Features<br />
Turn the vehicles’s ignition on.<br />
Within 5 seconds, Press & Release the Valet Switch 5 times.<br />
• The siren will chirp then sound briefly and the Status Light will light<br />
steady to confirm that the system is entering Programing Mode.<br />
Access a Feature:<br />
Step 4 Within 10 seconds, Press & Release the Valet Switch the same<br />
number of times as the desired feature’s number.<br />
• The siren will chirp and the Status Indicator Light will flash off the same<br />
number of times as the Valet Switch was pressed to indicate the feature<br />
number accessed.<br />
After accessing the desired feature, within 10 seconds Press &<br />
Release the appropriate controller or transmitter button.<br />
• Pressing the “arm/lock” button typically turns the feature on; or sets the<br />
feature’s first option. The siren will chirp once when this button is pressed.<br />
• Pressing the “disarm/unlock” button also typically turns the feature off;<br />
or, sets the feature’s second option. The siren will chirp twice.<br />
• Many features have third, and even fourth setting options. Pressing the<br />
“II” and “III” buttons select these options. Confirmation chirps when<br />
these buttons are pressed are three and four chirps respectively.<br />
To Access and Change further Features:<br />
If there are more features to be programmed, within 10 seconds of<br />
the previous action Press & Release the Valet Switch the same<br />
number of times as the next desired feature’s number.<br />
• Again the siren will chirp and the Status Indicator Light will flash as many<br />
times as the Valet Switch was pressed to indicate the new feature number<br />
which is now accessed. Then use the controller or transmitter as described<br />
in Step 5 to change the newly accessed feature as desired.<br />
Exit Programming mode:<br />
Step 7 Allow 10 seconds to pass without performing any programming<br />
actions, or turn the vehicle’s ignition on.<br />
• The siren will sound briefly and the Status Indicator Light will go out.<br />
Page - 32<br />
the assembly in a location where it can easily be seen by the driver, and preferably<br />
where it can be seen from outside. Two mounting methods are provided: doublesided<br />
adhesive tape, and two screws. If using the adhesive tape, properly prepare<br />
the mounting surfaces to ensure good adhesion. If using the screws for a more<br />
permanent mounting, <strong>car</strong>efully separate the housing halves, install the screws<br />
(avoid overtightening), then snap the assembly halves back together. Carefully<br />
route the wiring harness to the control module to avoid any chances of it being<br />
chafed or pinched.<br />
Power Doorlock Options: The K9-CLASSIC-EDP2 has the flexibility<br />
of these options for interfacing the vehicle power doorlocks.<br />
DLS Port- This option is the traditional “DLS” port, which can direct-wire<br />
basic 3-wire Negative pulse doorlocking systems, and accept all Omega analog<br />
doorlocking accessories (dual, triple relay sockets, or the modular clip-on add-on<br />
relay packs). All Omega doorlocking data bus module accessories can be driven by<br />
this port. The DLS port offers two unlocking outputs, so that driver’s door priority<br />
unlocking can be configured. See pages 16-21 for basic wiring diagrams.<br />
Data Port for IntelliKit & OmegaLink Modules & Bypasses: Omega<br />
IntelliKit & OmegaLink data bus interface modules and bypass kits simply plug into<br />
this port. These data-to-data (D2D) accessory products save time, and in many<br />
cases offer the only acceptable interface means for many newer vehicle’s doorlocking<br />
system and/or for the OEM-antitheft bypass when adding an <strong>alarm</strong> or an optional<br />
accessory remote start module with the K9. Omega offers the industries most<br />
comprehensive line of these products (go to www.<strong>car</strong><strong>alarm</strong>.com for latest application<br />
guide), and each includes its own vehicle-specific instructions. Also see page 22.<br />
Backup Battery: Both models have backup battery capability. If the system<br />
loses vehicle power it will revert to operating with basic security functions, if the<br />
backup battery is installed. See page 21 for installation details.<br />
Auxiliary Sensor Port: The K9 includes an impact sensor which<br />
conveniently plugs directly into an auxiliary sensor port. All Omega sensors are fully<br />
compatible with the K9’s sensor port. An available Sensor Expansion Module (AU-<br />
EXP) allows plug-in usage of multiple sensors. See page 21.<br />
Programmable Outputs: Both models also have two additional Negative<br />
outputs which are programmable. As received they are dedicated “negative parking<br />
light” and “horn honk” outputs, but if desired these can be used for a OEM <strong>alarm</strong><br />
arm, OEM <strong>alarm</strong> disarm or 4th and 5th remote channel outputs.<br />
See page 22 for instructions regarding the unit’s Coaxial Antenna Cable.<br />
Page - 5