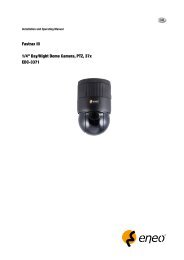
1/4â Dome, PTZ, Day&Night;, 22x EDMC-3221/E - eneo Home EN
1/4â Dome, PTZ, Day&Night;, 22x EDMC-3221/E - eneo Home EN
1/4â Dome, PTZ, Day&Night;, 22x EDMC-3221/E - eneo Home EN

Create successful ePaper yourself
Turn your PDF publications into a flip-book with our unique Google optimized e-Paper software.
2.7 Connections<br />
• Connecting to the RS485<br />
The dome camera can be controlled remotely by an external device or control system, such as a<br />
control keyboard, using RS485 half-duplex serial communications signals.<br />
• Connecting Video out connector<br />
Connect the video out (BNC) connector to the monitor or video input.<br />
• Connecting Alarms<br />
AI (Alarm In)<br />
You can use external devices to signal the dome camera to react on events. Mechanical or<br />
electrical switches can be wired to the AI (Alarm In) and G (Ground) connectors.<br />
See Chapter 3 — Program and Operation for configuring alarm input.<br />
G (Ground)<br />
NOTE: All the connectors marked G or GND are common.<br />
Connect the ground side of the alarm input and/or alarm output to the G (Ground) connector.<br />
AO (Alarm Output)<br />
The dome camera can activate external devices such as buzzers or lights. Connect the device to<br />
the AO (Alarm Out) and G (Ground) connectors.<br />
See Chapter 3 — Program and Operation for configuring alarm output.<br />
• Connecting the Power of <strong>Dome</strong><br />
Connect the power of AC 24V or DC12V 1A for the dome camera.<br />
When using a DC 12V adapter, connector the positive(+) pole to the ‘+’ position and the<br />
negative(-) pole to the ‘-‘ position.<br />
Use certified / Listed Class 2 power source only.<br />
• Connecting the Power of Heater & Fan<br />
Connect the power of AC 24V 2A for the heater & fan.<br />
Use certified / Listed Class 2 power source only.<br />
17